Rechargeable arc lighter
Press and hold the button and a small electric arc snaps between two pins. A wick held between the pins catches fire about a third of a second later. Let go of the button and the arc stops. There is no match and no gas, and the cell charges from a USB cable.
- 6 parts
- 6 wiring steps
- No code needed
- 3.7 V supply
Quick answer
The short version. Every pin is in the full wiring below.What you need
- 18650 lithium cell, 3.7 V
- TP4056 charger board with battery protection
- 12 mm momentary metal push button, normally open
- Lighter-type arc module
- Two metal pins, 5 mm apart, as the electrodes
- Wire
How to wire it
- 18650 cell plus (the red holder lead) to the TP4056 B+ pad.
- 18650 cell minus (the black holder lead) to the TP4056 B- pad.
- TP4056 OUT+ pad to one lug of the push button.
- The other button lug to the arc module's red lead (IN+).
- TP4056 OUT- pad to the arc module's black lead (IN-).
- The module's two thick high-voltage leads, one to each metal pin.
Before you power it: It is a lighter: never touch the pins or point it at anyone, and press about 2 seconds at a time because the module gets hot. Keep it away from children, pets and anyone with a pacemaker, and never leave burning candles alone.
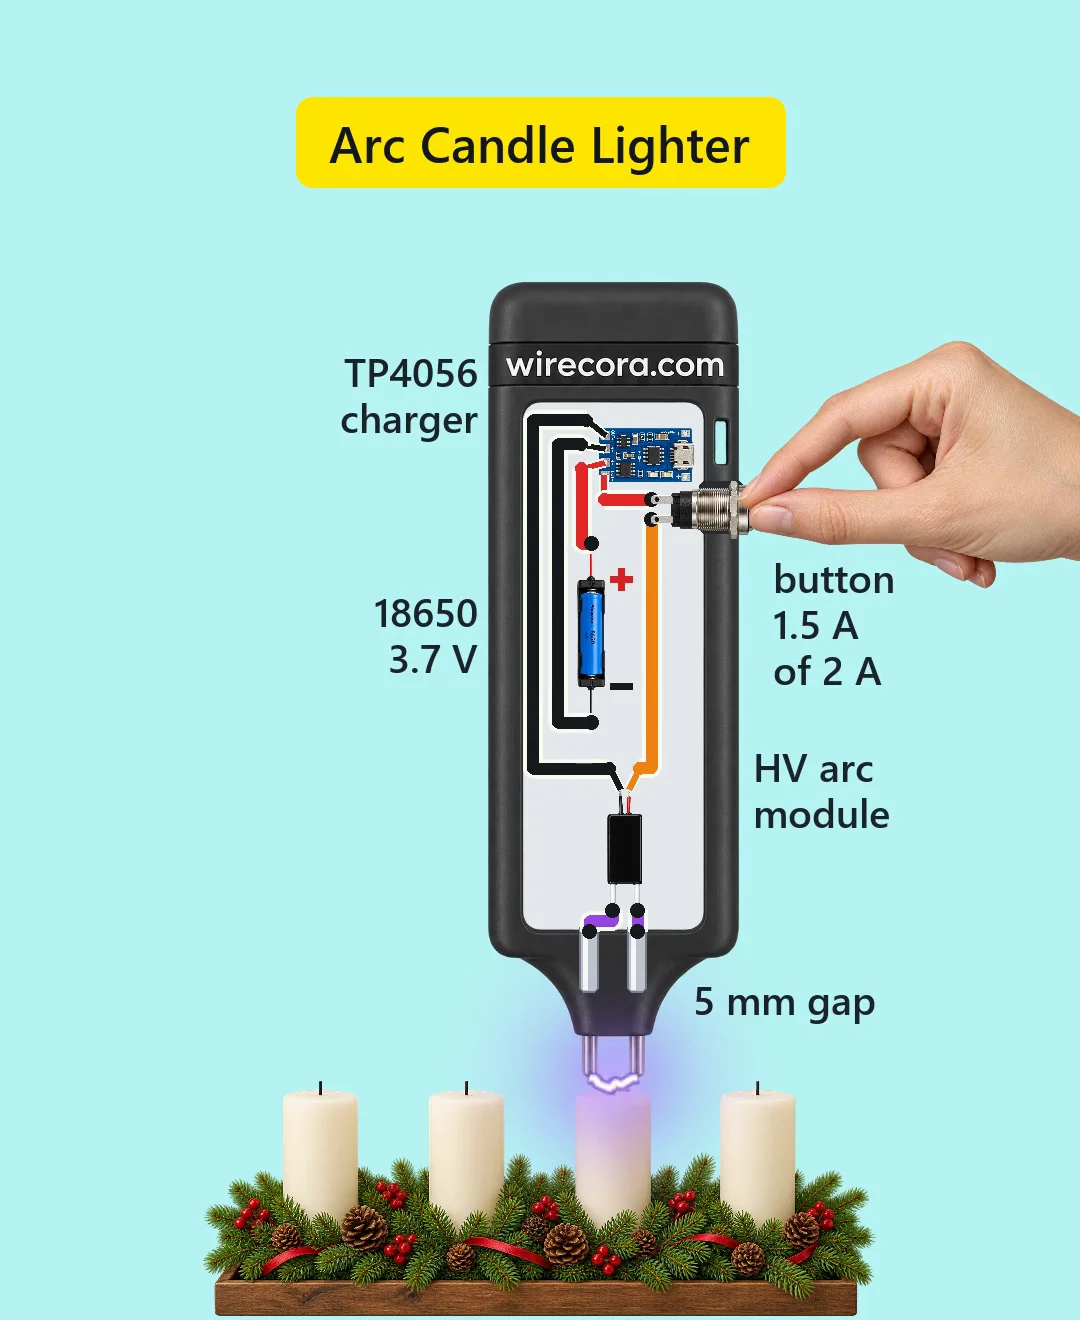
Parts list
- 18650 lithium cell, 3.7 V (about 2500 mAh), in a single-cell holder
- TP4056 charger board with battery protection (micro-USB input, 1 A charge current set by a 1.2 k resistor)
- 12 mm momentary metal push button, normally open (rated 2 A at 36 V DC)
- Lighter-type arc module (3.6 V to 6 V in, about 1.5 A drawn, about 15 kV out) with two thick high-voltage leads
- Two metal pins, 5 mm apart, as the electrodes
- Wire, and heat-shrink or silicone tube for the high-voltage joints
Wiring, step by step
- 18650 cell plus (the red holder lead) to the TP4056 B+ pad.
- 18650 cell minus (the black holder lead) to the TP4056 B- pad.
- TP4056 OUT+ pad to one lug of the push button. On the board OUT+ and B+ are the same copper, so the button gets the cell's plus.
- The other button lug to the arc module's red lead (IN+).
- TP4056 OUT- pad to the arc module's black lead (IN-). The board's protection chip sits in this line, so a flat cell or a short cuts the power.
- The module's two thick high-voltage leads, one to each metal pin. Nothing else touches them.
How it works
- With the button up, the module's red lead is cut off from the cell, so it draws no current. A USB cable on the board's micro-USB socket would charge the cell at 1 A.
- Pressing the button closes its contacts. The cell's plus reaches the module through the board and the button, and its minus through the board's protection chip.
- Inside the module a small oscillator and transformer, sealed in potting, turn about 4 V into about 15 kV.
- That voltage jumps the 5 mm gap between the pins as an arc. A wick between the pins is heated by the arc and catches fire.
- Letting go of the button cuts the module's power and the arc stops at once.
What the video simplifies
- The lighter is drawn about three times larger than the candles and wide open. A real one packs the parts into a slim closed body. The cell holder and the other parts are drawn at different scales.
- The two high-voltage leads are drawn violet so they show on the pale plate. Real ones are white silicone. A real build insulates every high-voltage joint with heat-shrink or silicone.
- The flames are drawn small, the hand holds the lighter by its button, and a draught puts the candles out so the clip loops. The arc's path and colour are drawn, not simulated.
- The module's current (1.5 A), its output voltage, the cell's 2500 mAh and the 0.3 s the wick takes to catch are typical values, not measured. The '400 kV' printed by some sellers is not true.
- At the cell's nominal 3.7 V the module sees about 3.5 V, a little under the 3.6 V most sellers list, so the arc weakens as the cell empties. At a full cell (4.2 V) it sees about 4 V.
- The micro-USB charge path is on the board but no cable is plugged in, so both charge lights are dark.
- This circuit was checked by calculation and datasheets, not built.
You found this by searching. Here's the whole path.
- Read how it works
- See it work
- Build it
- Show it
Thirty seconds of video shows the circuit doing its job.
It is a lighter: never touch the pins or point it at anyone, and press about 2 seconds at a time because the module gets hot. Keep it away from children, pets and anyone with a pacemaker, and never leave burning candles alone.
Built it, or stuck halfway? Post a photo in the Wirecora Discord. Questions get an answer every day.
What to build next
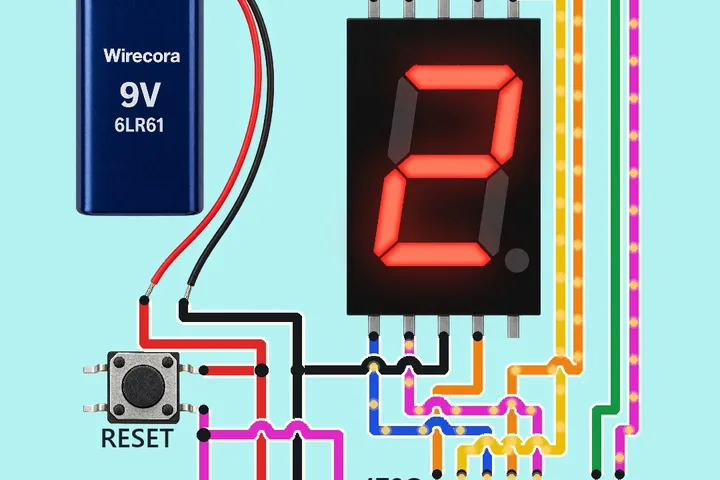 Similar partsSeven-segment counter, no ArduinoA 9 V battery, one CD4026 chip and a push button count up on a seven-segment display.
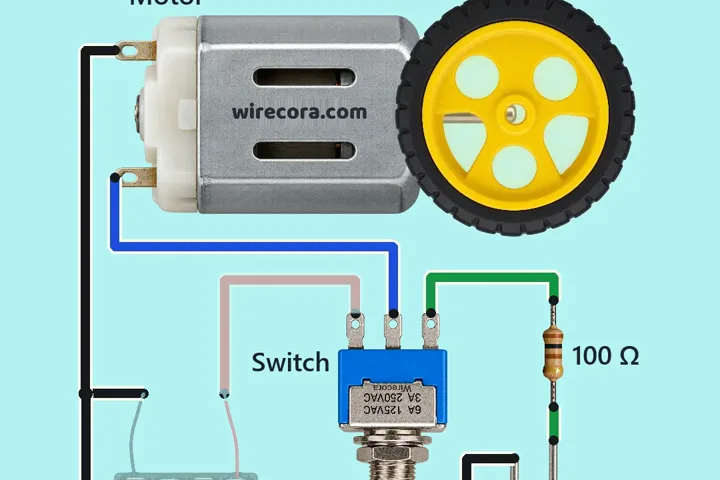 Something new: a motorMotor lights an LED as it brakesA small wheel spins on a motor while the switch is on RUN.
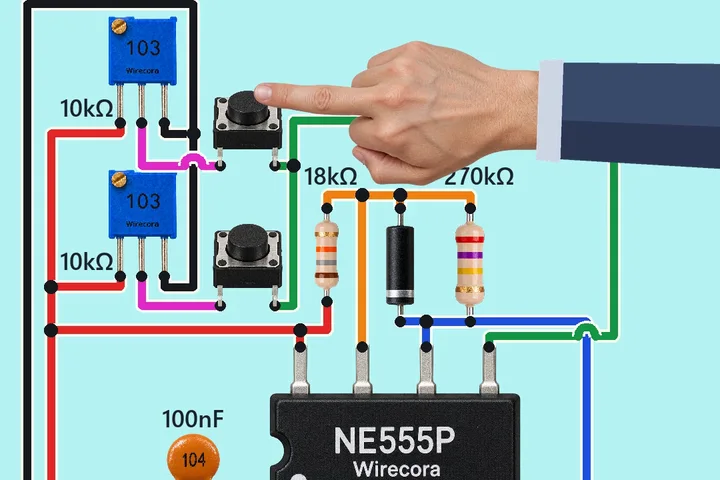 Similar partsServo control with a 555 and two buttonsHold the top button and the servo horn swings one way.