Alcohol sensor engine lock with an Arduino Nano, an MQ-3 and a relay
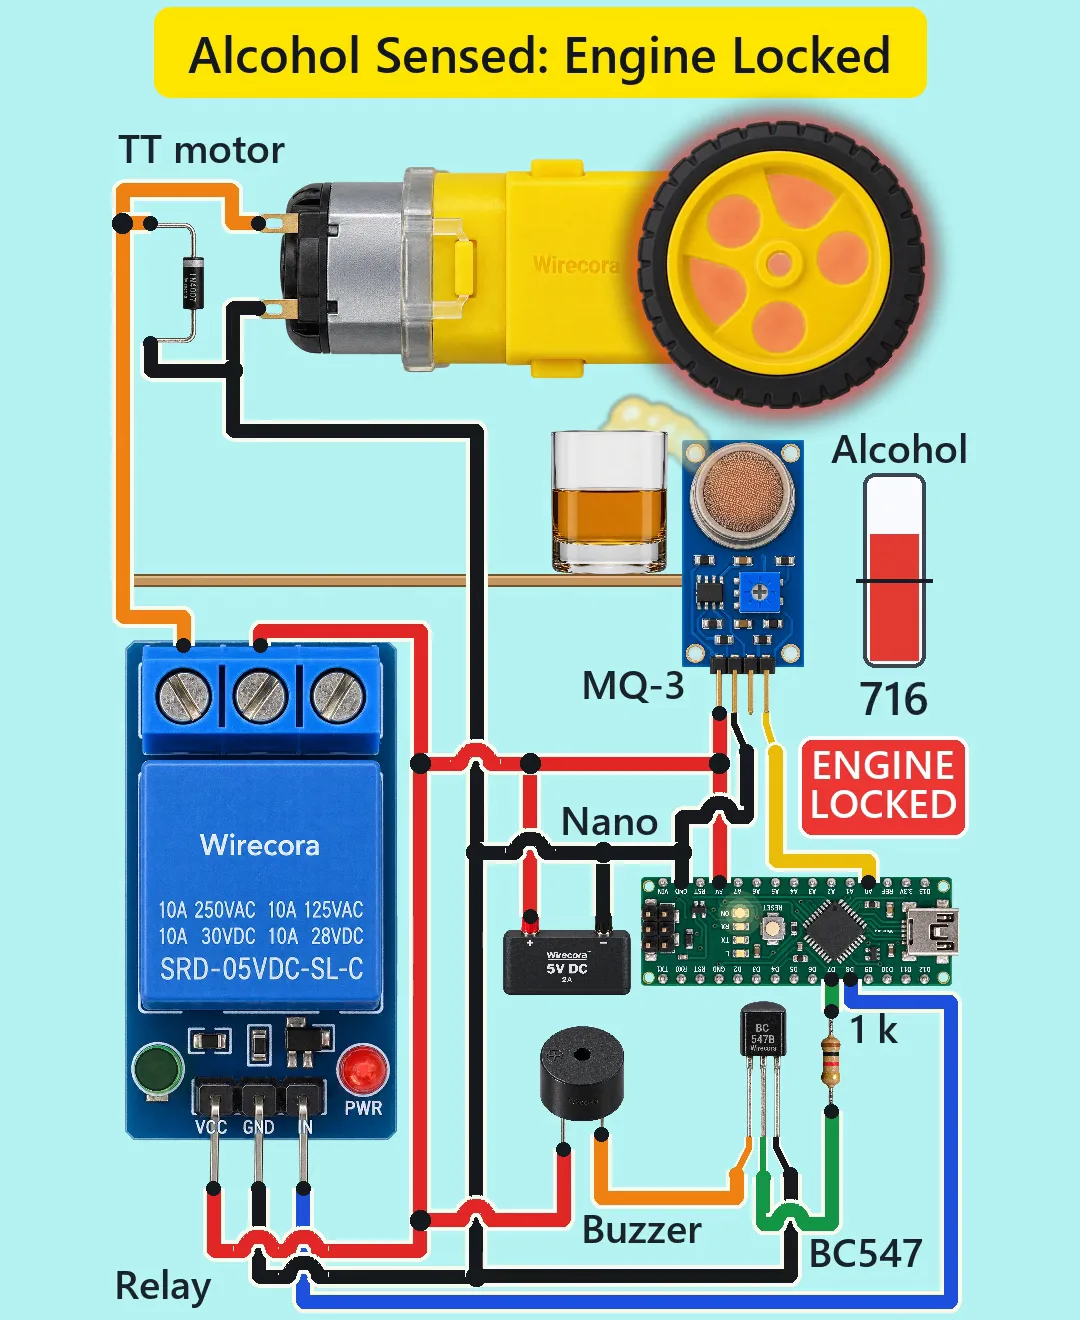
An Arduino reads an MQ-3 alcohol sensor. When a glass of whisky comes near, a relay drops, the small gear motor (the engine) coasts to a stop, a buzzer beeps three times and ENGINE LOCKED lights up. When the vapour clears, the relay pulls in and the motor runs again.
- 9 parts
- 7 wiring steps
- Arduino code
- 5 V supply
Quick answer
The short version. Every pin is in the full wiring below.What you need
- Arduino Nano
- MQ-3 alcohol sensor module
- 1-channel 5 V relay module, low-level trigger
- TT gear motor, 3 to 6 V
- 1N4007 diode
- Active buzzer, 5 V
- BC547 NPN transistor
- 1k resistor
- 5 V 2 A supply
How to wire it
- MQ-3: VCC to 5V, GND to GND, AO to Nano A0.
- Relay module: VCC to 5V, GND to GND, IN to Nano D8.
- 5V to the relay's COM terminal.
- 1N4007 across the motor with its band on the NO side.
- Buzzer plus to 5V.
- Supply plus to the Nano's 5V pin, supply minus to the Nano's GND.
- The motor runs only through the relay's normally open contact, so a dead or reset Arduino means a stopped engine.
Before you power it: Everything runs on 5 V from a regulated supply. This is a demo with a small motor, not a car part and not a breath tester. Never use it to decide whether anyone may drive.
Parts list
- Arduino Nano
- MQ-3 alcohol sensor module (pins VCC, GND, DO, AO; 5 V heater, about 150 mA)
- 1-channel 5 V relay module, low-level trigger (LOW on IN = relay on), contacts 10 A at 30 V DC
- TT gear motor, 3 to 6 V (about 150 mA with no load)
- 1N4007 diode
- Active buzzer, 5 V (about 30 mA)
- BC547 NPN transistor (legs from the left, flat face toward you: collector, base, emitter)
- 1k resistor
- 5 V 2 A supply (about 0.42 A in use)
Wiring, step by step
- MQ-3: VCC to 5V, GND to GND, AO to Nano A0. DO is not used.
- Relay module: VCC to 5V, GND to GND, IN to Nano D8.
- 5V to the relay's COM terminal. Relay NO to one motor wire. The other motor wire to GND.
- 1N4007 across the motor with its band on the NO side.
- Buzzer plus to 5V. Buzzer minus to the BC547's collector. BC547 emitter to GND. BC547 base through the 1k resistor to Nano D7.
- Supply plus to the Nano's 5V pin, supply minus to the Nano's GND.
- The motor runs only through the relay's normally open contact, so a dead or reset Arduino means a stopped engine.
How it works
- The sketch reads the sensor on A0. Above 450 (about 2.2 V) it locks. Below 300 (about 1.5 V) it releases. In between nothing changes, so it does not flicker.
- Locked means D8 goes HIGH: the relay coil drops, COM to NO opens and the motor loses its supply. D7 beeps the buzzer three times, 120 ms each.
- The BC547 drives the buzzer because the buzzer needs about 30 mA and a Nano pin should give no more than 20 mA. The 1k resistor gives about 4.3 mA of base current, which saturates the transistor.
- The 1N4007 across the motor takes the spike when the relay contact opens.
- Released means D8 LOW: the coil pulls in, COM to NO closes and 5 V reaches the motor.
- Current: Nano 19 mA, MQ-3 heater 150 mA, relay module 75 mA, buzzer 30 mA, motor 150 mA with no load. That is 0.42 A of the 2 A supply.
The code: alcohol_engine_lock.ino
The Arduino code for this circuit is in the Wirecora Discord, in the channel #arduino-code (owner’s choice, 14 October 2026: the code lives where you can ask about it). It is a plain .ino file you can download there.
The sketch the Short was animated from, run step by step in a simulation of the drawn behaviour; it has not been run on a real board yet. The relay module is low-level trigger: LOW = relay on = engine may run. For a high-level-trigger module swap HIGH and LOW.
What the video simplifies
- The wheel turns slower than the real motor: about 1.3 turns a second against about 2.8. A real sensor reacts over seconds and needs minutes of warm-up; in the Short it reacts in about 1 second, and the gauge numbers are modelled, not measured.
- Sizes are stylised: the electronics are drawn several times larger than the scene.
- The beeps are softened. A real buzzer is a harsh 2.3 kHz tone.
- The sketch starts with the relay on. A real lock would stay locked until the sensor has warmed up.
- The buzzer is an active one with its own driver, so no diode is drawn across it.
- The motor's stall current is not published; the supply has plenty of headroom.
- The MQ-3 is a demonstration sensor, not a legal breath tester, and this is not a car part.
- Added to the viral idea: fail-safe relay wiring, a flyback diode across the motor, a transistor for the buzzer and hysteresis.
- This circuit was checked by simulation and datasheets, not built.
You found this by searching. Here's the whole path.
- Read how it works
- See it work
- Build it
- Show it
Thirty seconds of video shows the circuit doing its job.
Everything runs on 5 V from a regulated supply. This is a demo with a small motor, not a car part and not a breath tester. Never use it to decide whether anyone may drive.
Built it, or stuck halfway? Post a photo in the Wirecora Discord. Questions get an answer every day.
What to build next
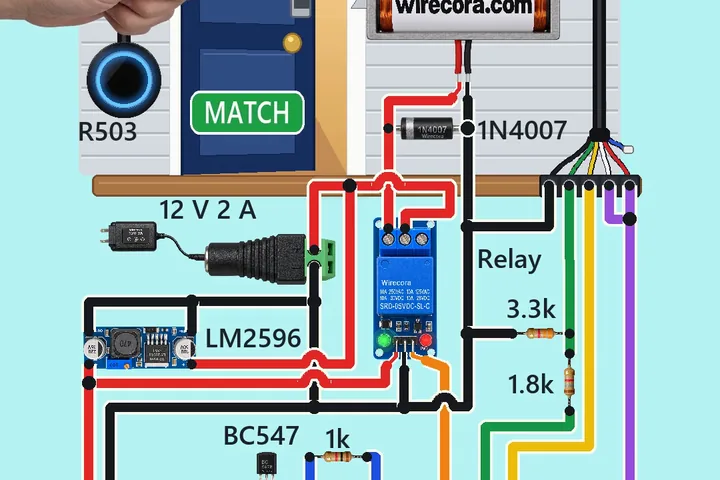 Same Arduino + relayFingerprint door lock with an Arduino and an R503Touch the sensor's ring with an enrolled finger: about half a second later the ring turns blue, the relay clicks and the solenoid pulls its bolt back, so the little door swings open with a push.
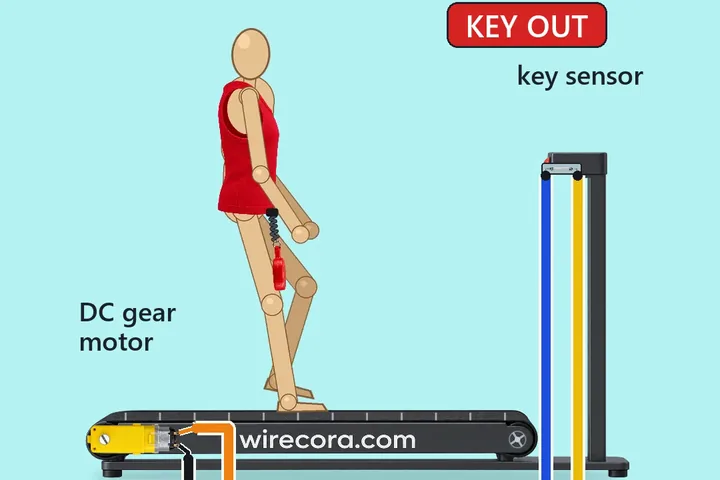 Next step: adds a reed switchTreadmill safety key stop with an Arduino Nano, a reed switch and a 5 V relayA runner jogs on a small model treadmill with a red magnet key clipped from their top to the console.
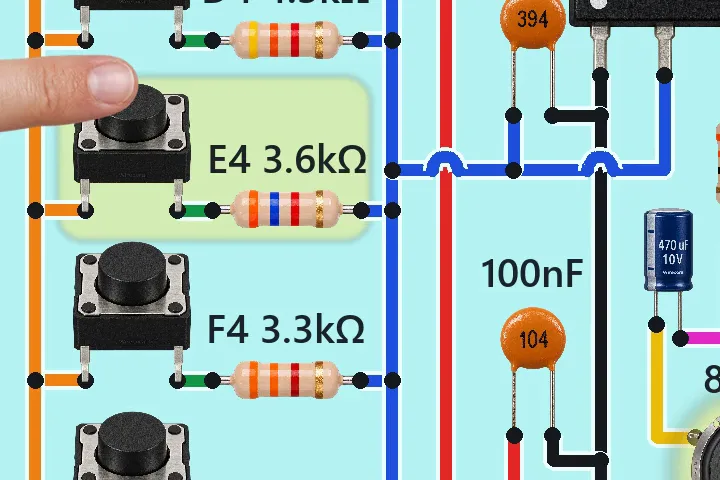 Something new: a 555 timerSix-key electronic piano with one NE555 timerPress a key and the speaker sings a note.