Arduino bottle filler with one relay
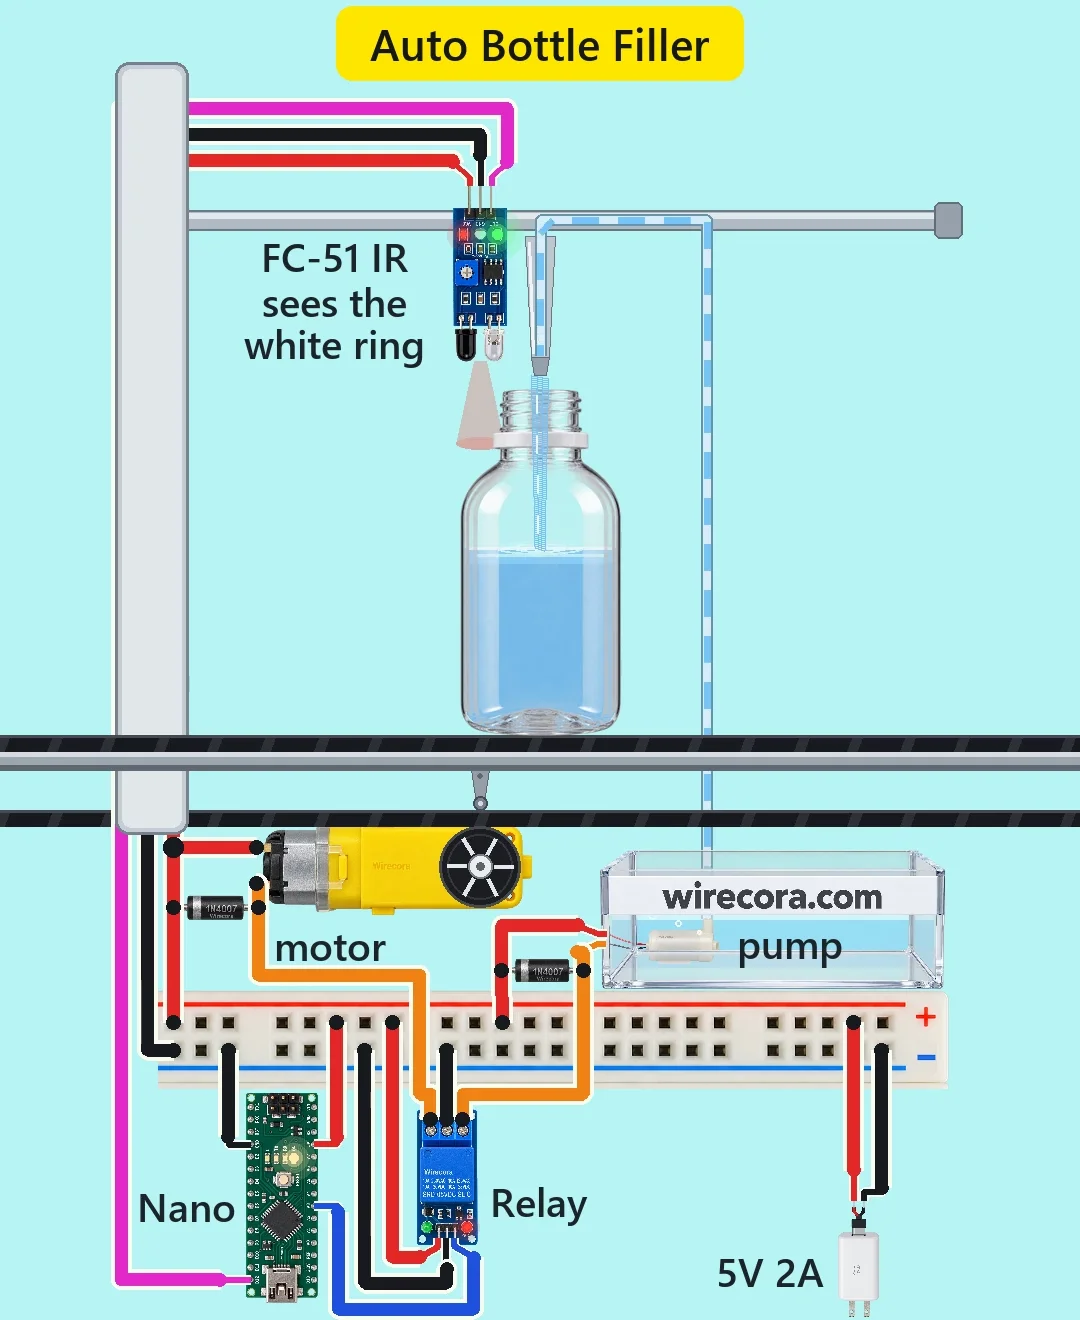
A belt brings an empty bottle. An infrared sensor sees the white ring on its neck and the Arduino lets go of a relay. The belt stops with the bottle under the nozzle and the pump fills it. After 3.84 seconds the relay pulls in again, the pump stops and the belt carries the full bottle away.
- 8 parts
- 5 wiring steps
- No code needed
- 5 V supply
Quick answer
The short version. Every pin is in the full wiring below.What you need
- Arduino Nano
- FC-51 infrared obstacle sensor
- One-channel 5 V relay module, low-level trigger
- TT gear motor with a roller to drive the belt
- 5 V submersible pump with a thin hose
- 2 x 1N4007 diodes
- Breadboard with a power rail
- Small bottles with a white ring
How to wire it
- The 5 V adapter goes to the power rail.
- Use the Nano's 5V pin, because the adapter gives a regulated 5 V.
- FC-51 OUT goes to Nano D12.
- Relay NO goes to the other motor lead.
- A 1N4007 sits across the motor and another across the pump.
Before you power it: 5 V DC only, but keep water away from the power rail and the Nano. Keep the hose over the tank. Use a small bottle that fits the pour.
Parts list
- Arduino Nano
- FC-51 infrared obstacle sensor
- One-channel 5 V relay module, low-level trigger (pins VCC, GND, IN; the relay pulls in when IN is LOW)
- TT gear motor with a roller to drive the belt, and a belt
- 5 V submersible pump with a thin hose, in a small tank below the belt
- 2 x 1N4007 diodes, one across the motor and one across the pump
- Breadboard with a power rail, and a 5 V 2 A USB adapter
- Small bottles with a white ring (collar) on the neck
Wiring, step by step
- The 5 V adapter goes to the power rail. From the + row: Nano 5V pin, FC-51 VCC, relay VCC, one motor lead and the pump plus lead. From the - row: Nano GND, FC-51 GND, relay GND and relay COM.
- Use the Nano's 5V pin, because the adapter gives a regulated 5 V. The VIN pin needs 7 to 12 V.
- FC-51 OUT goes to Nano D12. Relay IN goes to Nano A3, used as a digital pin.
- Relay NO goes to the other motor lead. Relay NC goes to the pump minus lead.
- A 1N4007 sits across the motor and another across the pump. The striped end (cathode) goes to 5 V on both.
How it works
- COM is on ground. The belt motor hangs on NO and the pump hangs on NC, so only one of them can run at any moment.
- While the Nano holds the relay pulled in (A3 LOW) the belt runs. When the relay lets go the belt halts and the pump pours.
- The FC-51 output goes LOW when it sees the white collar. The Nano then sets A3 HIGH, the relay drops out, the belt coasts to a stop and the pump starts.
- After 3.84 seconds (about 60 mL) the Nano sets A3 LOW again. The pump stops and the belt moves on. The sketch waits for the filled bottle to leave the beam, then waits 0.4 s and watches for the next collar.
- The sketch is short: D12 is INPUT_PULLUP, A3 is the relay output, and FILL_MS is 3840. Change FILL_MS for another dose. Time one fill into a jug to set it.
- The 1N4007 diodes take the voltage spike when the relay contacts open under the motor or the pump.
What the video simplifies
- The tank is drawn much smaller than a real one. The belt speed (about 8 cm/s), the 3.84 s pour and the 60 mL are chosen to suit the picture.
- The motor current (about 0.2 A) and the pump current (about 0.18 A) are typical values. They were not measured.
- The relay input takes only a few mA, so the Nano pin can drive it. This is for a low-level-trigger module. A high-trigger module swaps the belt and the pump unless you invert the sketch.
- The pump is on the NC contact, so it also runs while a sketch uploads and for up to about a second while the Nano starts. Keep the hose over the tank.
- The FC-51 needs the white ring on the bottle. It does not see clear plastic well. Set its trimmer so it trips on the collar but ignores the dark belt.
- A 470 to 1000 uF capacitor across the rail is good practice. It is not drawn.
- The two diodes carry only the print on their bodies, and they have no name label in the video. The sound was added in editing.
- The circuit was checked on paper and in a simulation. Nobody built this exact line.
You found this by searching. Here's the whole path.
- Read how it works
- See it work
- Build it
- Show it
Next: see it work
Thirty seconds of video shows the circuit doing its job.
Then build it
5 V DC only, but keep water away from the power rail and the Nano. Keep the hose over the tank. Use a small bottle that fits the pour.
Then show it
Built it, or stuck halfway? Post a photo in the Wirecora Discord. Questions get an answer every day.
What to build next
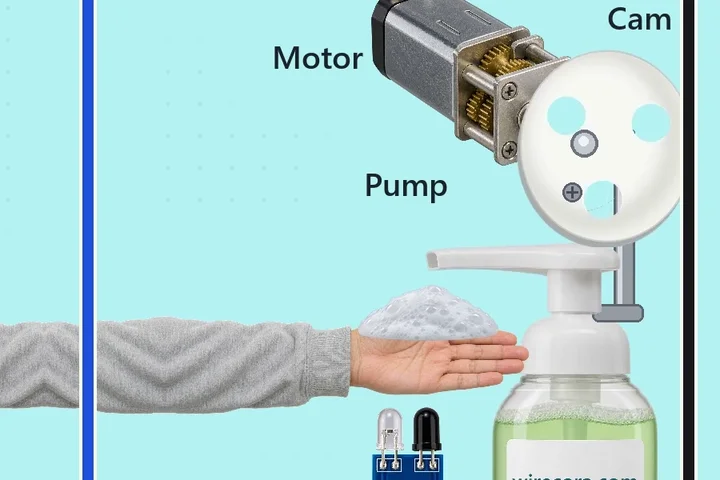 Same pump + motorTouchless foam soap dispenserYou hold a hand under the nozzle.
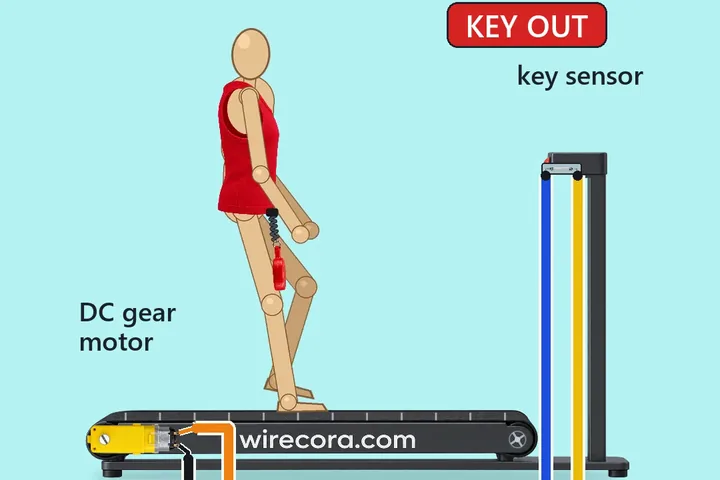 Next step: adds a reed switchTreadmill safety key stop with an Arduino Nano, a reed switch and a 5 V relayA runner jogs on a small model treadmill with a red magnet key clipped from their top to the console.
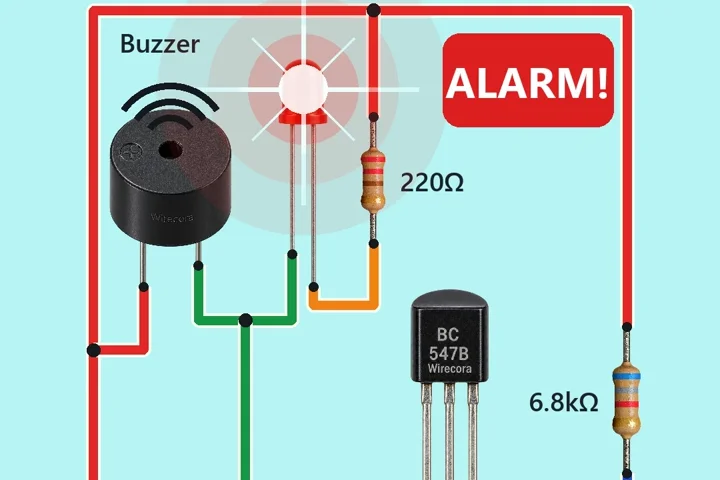 Something new: a reed switchReed switch door alarmA magnet next to the reed switch means the door is closed, and the circuit is silent.