Buzz wire game with an LED and a buzzer
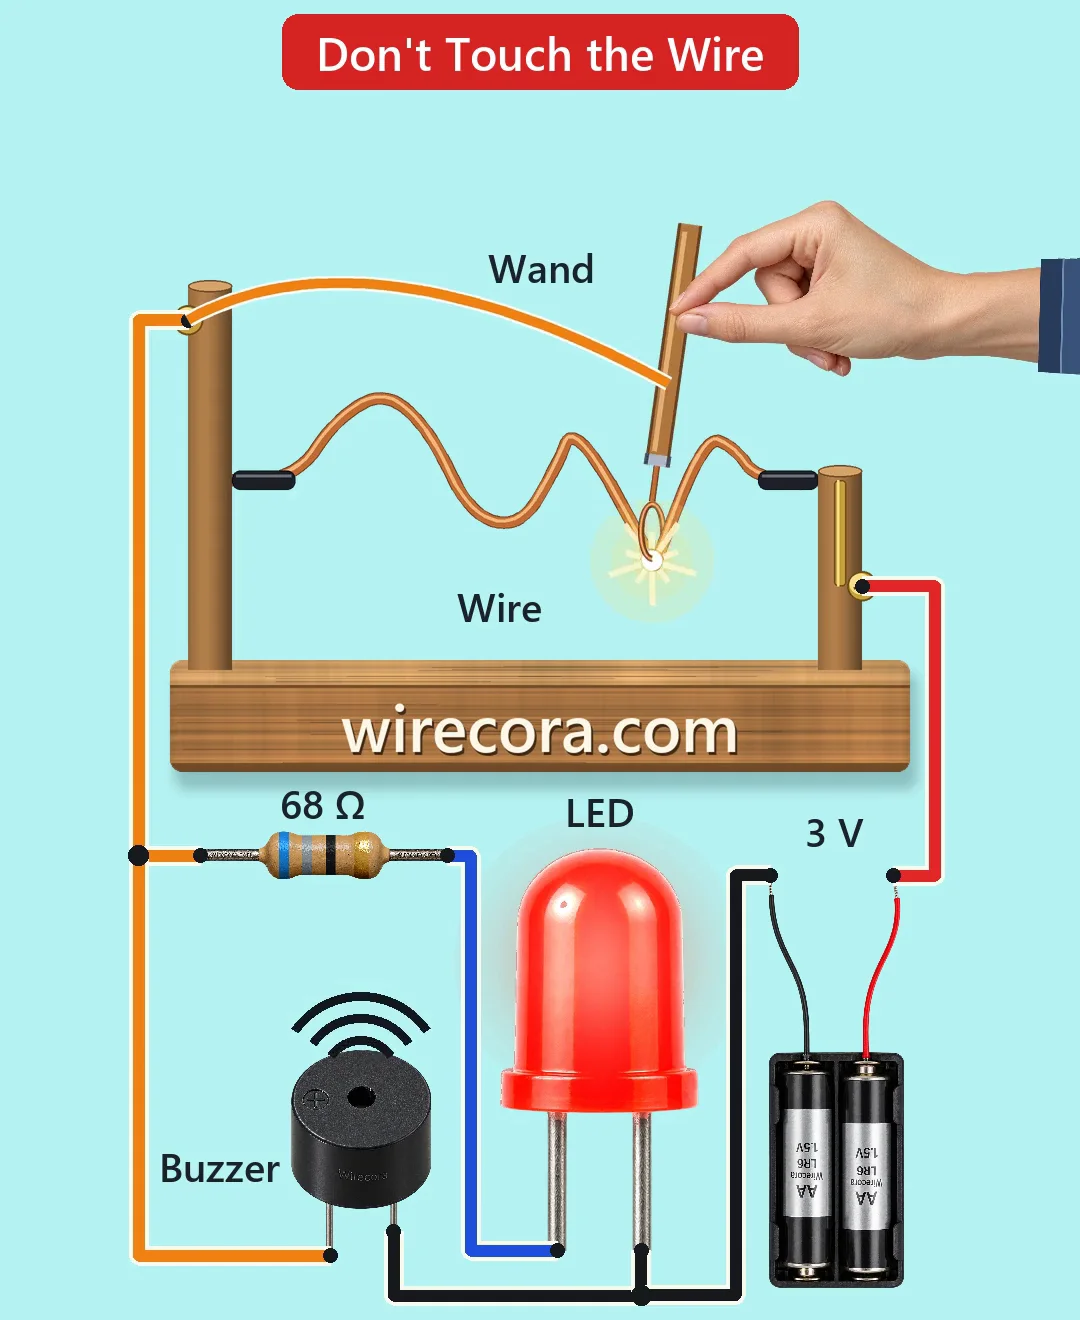
The whole game is one switch: the loop and the bent wire. While they stay apart nothing happens. The moment they touch, the circuit closes, the red LED lights and the buzzer sounds.
- 8 parts
- 4 wiring steps
- No code needed
- 3 V supply
Quick answer
The short version. Every pin is in the full wiring below.What you need
- 2 x AA battery holder
- About 2 mm bare copper wire
- A wand: a small loop of wire on a wooden handle
- 3 V active buzzer, 12 mm
- 68 ohm resistor
- 5 mm red LED
- A wooden board with two posts
- Plastic sleeves on the two ends of the course wire
How to wire it
- Battery plus to the right post, and from the post to the bare copper course wire.
- The wand's lead goes to the left post and then to a junction.
- From the junction, one branch goes to the buzzer plus.
- Battery minus, the buzzer minus and the LED cathode all join.
Before you power it: 3 V from two AA cells. This is safe to touch. Keep the cells in a proper holder, and do not short the bare wire to the minus side for long, because the cells and wires warm up.
Parts list
- 2 x AA battery holder (3 V)
- About 2 mm bare copper wire, bent into the course
- A wand: a small loop of wire on a wooden handle
- 3 V active buzzer, 12 mm (TMB12A03 type, works on 2 to 5 V, up to about 30 mA)
- 68 ohm resistor
- 5 mm red LED
- A wooden board with two posts
- Plastic sleeves on the two ends of the course wire, so you can rest the loop there
Wiring, step by step
- Battery plus to the right post, and from the post to the bare copper course wire.
- The wand's lead goes to the left post and then to a junction.
- From the junction, one branch goes to the buzzer plus. The other goes to the 68 ohm resistor and then to the LED anode (the long leg).
- Battery minus, the buzzer minus and the LED cathode all join.
How it works
- With no touch there is no closed circuit, so the cells draw no current.
- When the loop touches the course wire, 3 V reaches the wand lead and the junction. Both branches turn on at the same touch.
- The LED gets (3.0 - 1.9) V / 68 ohm, about 16 mA. That is under the 20 mA limit of a 5 mm LED.
- The buzzer draws up to about 30 mA. Together the two draw up to about 46 mA, only while you touch.
- The plastic sleeves on the two ends keep the loop apart from the bare wire. You can rest there without a buzz.
What the video simplifies
- The LED is drawn larger than real.
- The touch is drawn as one clean pulse. A real contact can bounce and make the buzz stutter.
- The real buzzer is a higher, louder continuous beep (about 2.3 kHz). The sound in the Short is a softened 392 Hz buzz. Real fair games often use a louder buzzer or a bell.
- The long flexible wand lead is drawn as a simple arch. The joint at the right post is drawn as a brass strap.
- The 1.9 V LED voltage is a typical value for a red LED. The buzzer figures come from the TMB12A datasheet family.
- This circuit was checked on paper only. It was not built.
You found this by searching. Here's the whole path.
- Read how it works
- See it work
- Build it
- Show it
Next: see it work
Thirty seconds of video shows the circuit doing its job.
Then build it
3 V from two AA cells. This is safe to touch. Keep the cells in a proper holder, and do not short the bare wire to the minus side for long, because the cells and wires warm up.
Then show it
Built it, or stuck halfway? Post a photo in the Wirecora Discord. Questions get an answer every day.
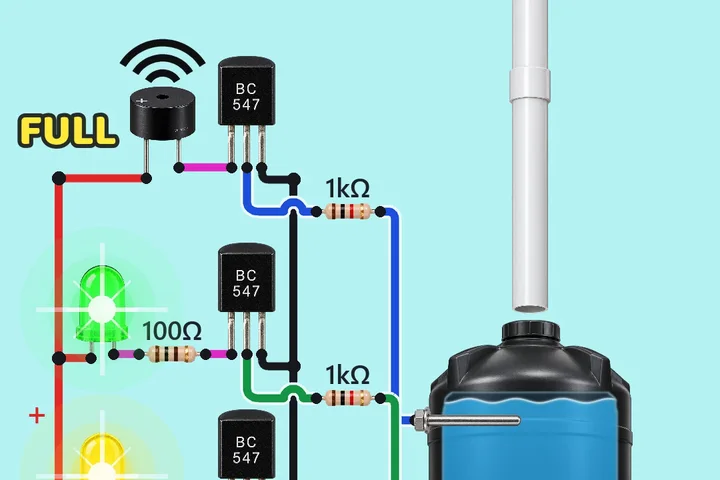 Same buzzerWater level indicator with a buzzer
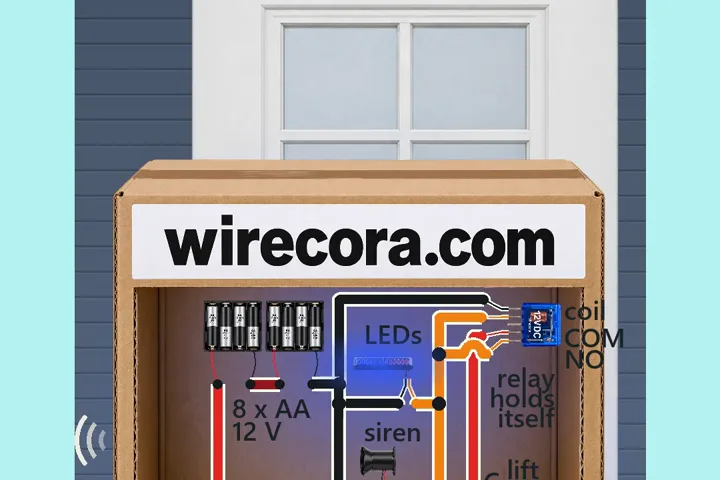 Next step: adds a relayParcel alarm that keeps going
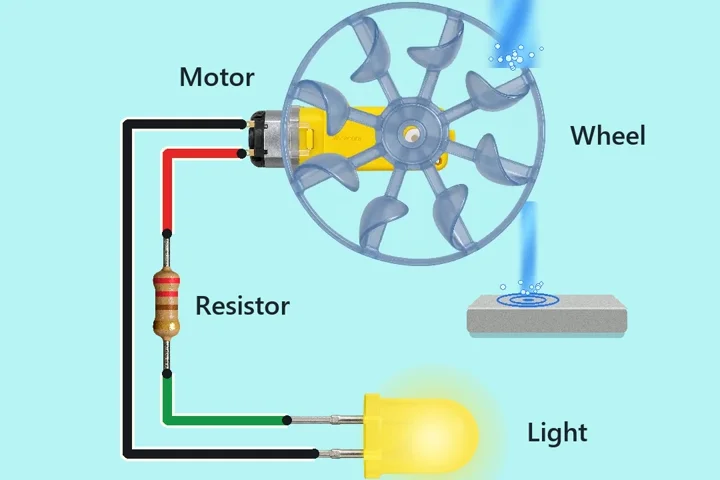 Something new: a motorRain-powered water wheel light