Rain-powered water wheel light
Water from a gutter downpipe turns a paddle wheel. The wheel turns a small gear motor backwards, and the motor works as a generator. It lights a yellow LED through a resistor. The faster the wheel turns, the brighter the LED glows. The circuit has no battery.
- 6 parts
- 4 wiring steps
- No code needed
Quick answer
The short version. Every pin is in the full wiring below.What you need
- TT gear motor, 3 to 6 V, 1:48 gearbox
- 220 ohm resistor, 1/4 W
- 5 mm yellow LED
- A paddle wheel about 200 mm across
- The end of a gutter downpipe to aim the water at the paddles
- A cover to keep rain off the motor
How to wire it
- Motor terminal B (the + side for the wheel's turning direction) goes to one end of the 220 ohm resistor.
- The other end of the resistor goes to the LED's long lead (anode).
- The LED's short lead (cathode) goes back to motor terminal A.
- If the LED stays dark, swap the two motor wires.
Before you power it: Low voltage only: this motor makes under 8 V. Keep it away from mains and outdoor sockets. The motor is not waterproof, so cover it. Never climb to a gutter while it rains. A wrong-way LED is damaged above 5 V, so test which way round at low speed first.
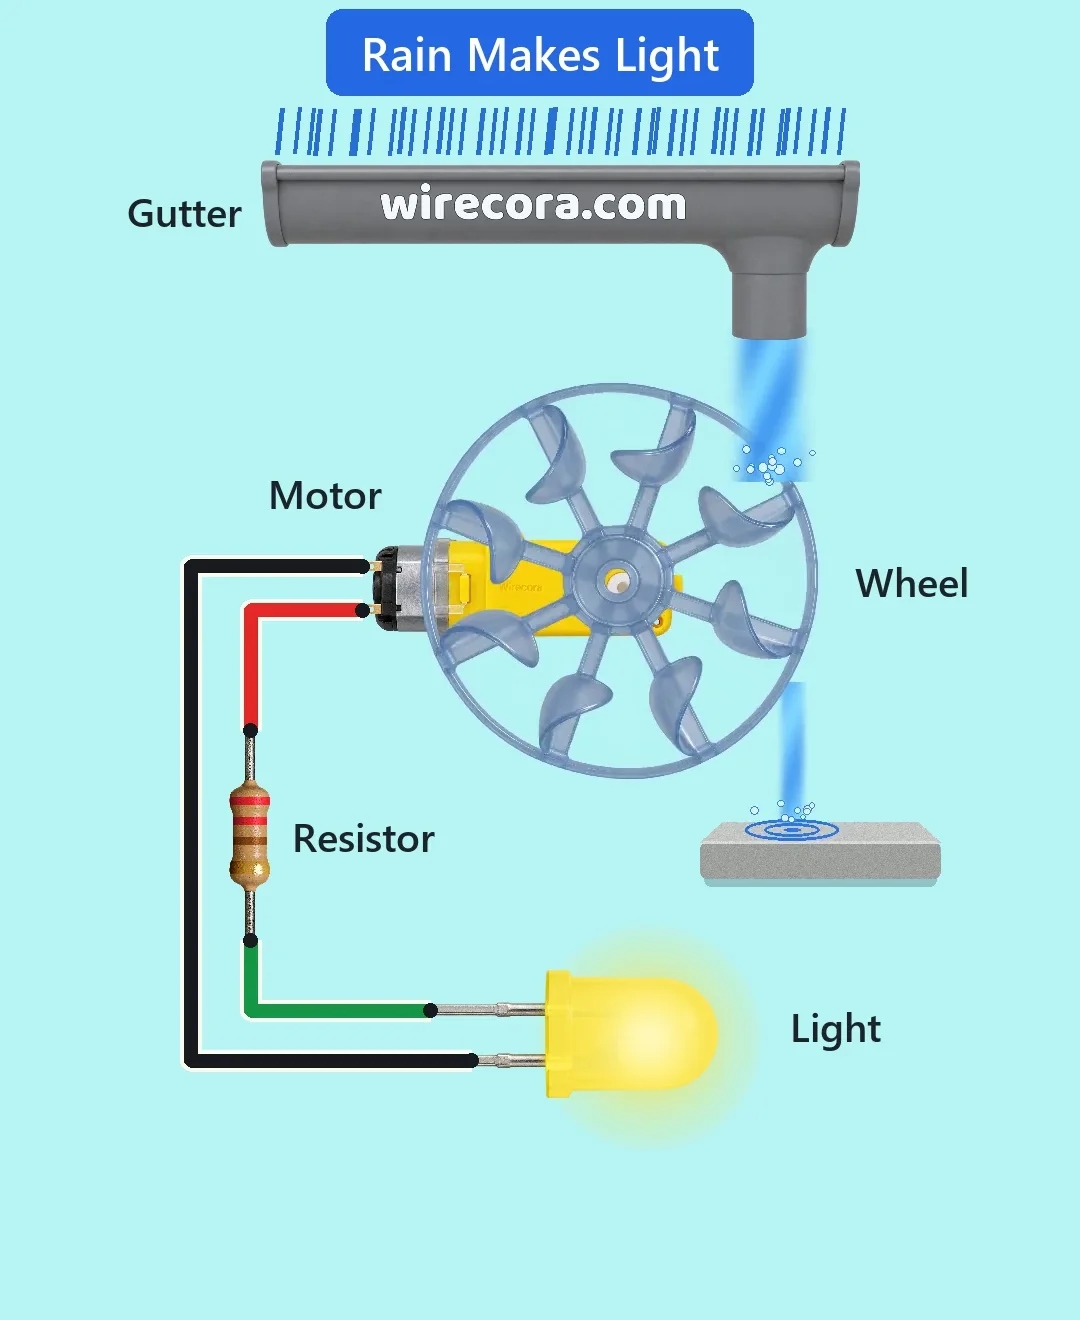
Parts list
- TT gear motor, 3 to 6 V, 1:48 gearbox (the yellow kind)
- 220 ohm resistor, 1/4 W
- 5 mm yellow LED (long lead = anode)
- A paddle wheel about 200 mm across, fixed on the motor's output shaft
- The end of a gutter downpipe to aim the water at the paddles
- A cover to keep rain off the motor (the motor is not waterproof)
Wiring, step by step
- Motor terminal B (the + side for the wheel's turning direction) goes to one end of the 220 ohm resistor.
- The other end of the resistor goes to the LED's long lead (anode).
- The LED's short lead (cathode) goes back to motor terminal A. That is the whole circuit: three parts and three wires.
- If the LED stays dark, swap the two motor wires. The motor has no marked polarity and only one direction lights the LED.
How it works
- Water hits the paddles and the wheel turns the gear motor's output shaft backwards. A motor turned like this makes a voltage.
- This motor makes about 26 mV for every turn per minute (our estimate from the maker's 6 V, 200 rpm rating).
- At about 110 rpm the motor makes about 2.9 V. About 4 mA flows and the LED glows dimly. At about 180 rpm it makes about 4.7 V and about 12 mA flows, so the LED is clearly brighter.
- The 220 ohm resistor sets the current. Up to about 320 rpm the LED stays under its 30 mA limit.
- If the wheel slows, the voltage falls and the light dims. Below about 70 rpm it is nearly off.
- There is no battery. The only energy source is the falling water.
What the video simplifies
- The wheel speeds (110 to 180 rpm) are our estimate. They are not measured.
- The 5 ohm inside the motor is an assumed value. The maker's sheet does not give it.
- The drop from the gutter outlet to the paddles is drawn short, and the wheel is drawn at half size. A real build needs the water to fall about 1 m (a full downpipe) onto a wheel about 200 mm across.
- A heavy downpour, about 0.3 L/s (about 27 mm of rain an hour on about 40 m2 of roof), is needed. The stiff gearbox takes most of the water's push, about 0.4 to 0.8 W by our estimate. In light rain the wheel will not turn. With the short drop that is drawn, the wheel would most likely stall.
- The rain gets heavier in two seconds in the video. Real rain changes over minutes.
- The gutter is drawn closed, so you cannot see the water level inside it.
- It is one LED, a marker light that makes a few milliwatts. It is not a porch lamp.
- The circuit was checked with datasheets and a calculation. It was not built.
You found this by searching. Here's the whole path.
- Read how it works
- See it work
- Build it
- Show it
Thirty seconds of video shows the circuit doing its job.
Low voltage only: this motor makes under 8 V. Keep it away from mains and outdoor sockets. The motor is not waterproof, so cover it. Never climb to a gutter while it rains. A wrong-way LED is damaged above 5 V, so test which way round at low speed first.
Built it, or stuck halfway? Post a photo in the Wirecora Discord. Questions get an answer every day.
What to build next
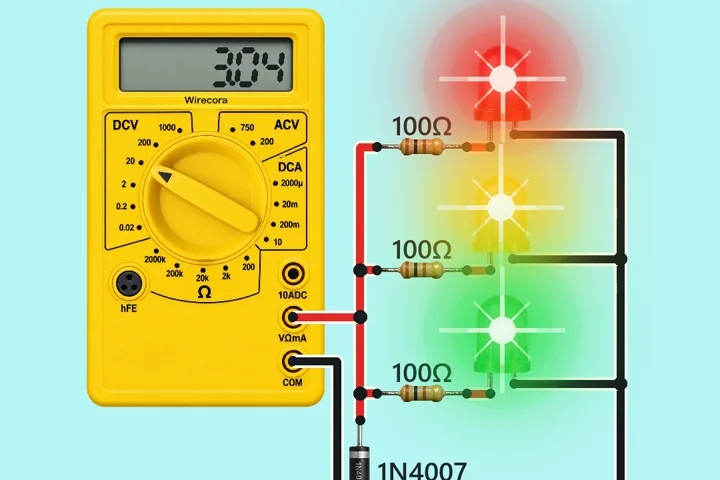 Same motorHand-crank motor generatorA hand turns a crank on a small TT gear motor.
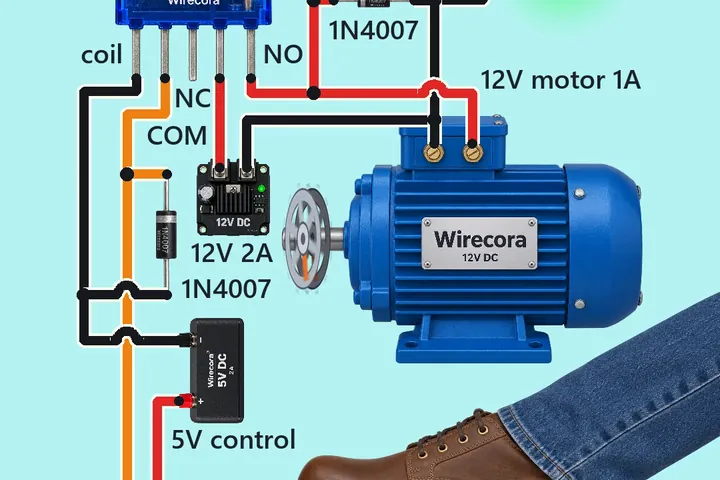 Next step: adds a relayFoot pedal motor switch with a 5 V relay and a 12 V motorStep on the pedal and the 12 V motor runs and the green RUN lamp lights.
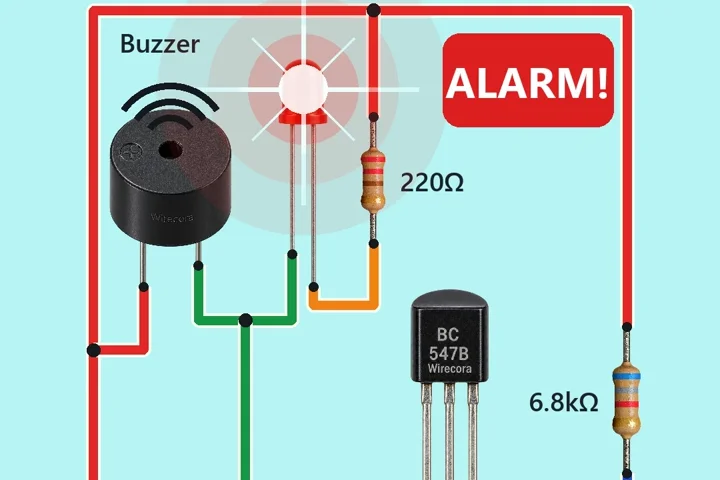 Something new: a reed switchReed switch door alarmA magnet next to the reed switch means the door is closed, and the circuit is silent.