Glass that fills itself and stops near the top
Press START once and a small pump fills the glass. When the water reaches two steel rods near the top, the pump cuts out by itself. Drink the glass and nothing restarts; it waits for the next press.
- 14 parts
- 8 wiring steps
- No code needed
- 5 V supply
Quick answer
The short version. Every pin is in the full wiring below.What you need
- NE555 timer, DIP-8
- TIP120 Darlington transistor
- 1N4007 diode across the pump
- 10 kohm resistor, between plus and pin 2
- 100 kohm resistor, between pin 6 and ground
- 1 kohm resistor
- 1 kohm resistor, between plus and pin 4
- 10 uF 25 V electrolytic capacitor
- Push button
- 5 V mini submersible pump, about 0.2 A
- 5 V 2 A USB power adapter
- Two stainless steel rods, the water probes
- 100 nF ceramic capacitor across pins 8 and 1
- Clear tube
How to wire it
- Adapter plus (+5 V) to NE555 pin 8 (VCC).
- Adapter minus to NE555 pin 1 (GND).
- NE555 pin 2 (TRIG) to the other end of the 10k resistor and to the START button's first terminal.
- NE555 pin 6 (THR) to the left probe rod and to the free end of the 100k resistor.
- NE555 pin 4 (RESET) to the free end of the second 1k resistor and to the plus of the 10 uF capacitor.
- NE555 pin 3 (OUT) through the other 1k resistor to the TIP120 base.
- TIP120 collector to the pump's black lead and to the diode's plain end (anode).
- NE555 pin 5 (CTRL) and pin 7 (DISCH) stay open.
Before you power it: Everything runs on 5 V from a USB adapter, but it mixes water and electricity, so keep the adapter and the electronics dry and well away from the tub and the glass. Never hold START down on wet rods, and do not leave it unattended.
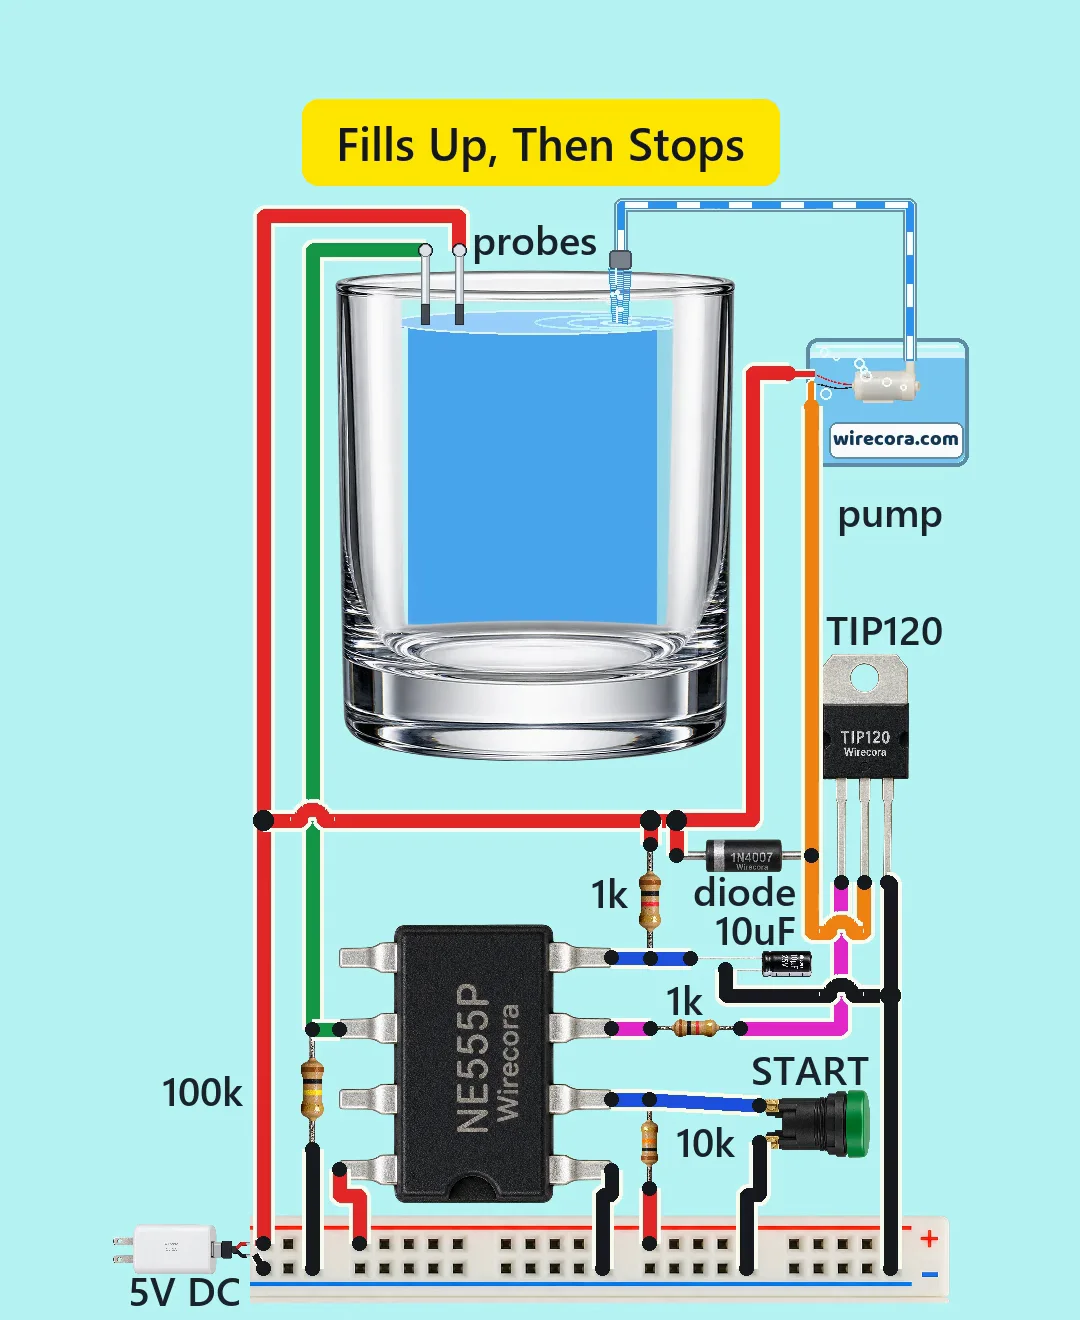
Parts list
- NE555 timer, DIP-8 (the video prints NE555P)
- TIP120 Darlington transistor (from the front, legs down, the legs are B, C, E from the left and the metal tab is the collector)
- 1N4007 diode across the pump (band to plus)
- 10 kohm resistor, between plus and pin 2
- 100 kohm resistor, between pin 6 and ground
- 1 kohm resistor, between pin 3 and the TIP120 base
- 1 kohm resistor, between plus and pin 4
- 10 uF 25 V electrolytic capacitor, from pin 4 to ground
- Push button, the START button, between pin 2 and ground
- 5 V mini submersible pump, about 0.2 A
- 5 V 2 A USB power adapter
- Two stainless steel rods, the water probes
- 100 nF ceramic capacitor across pins 8 and 1 (not drawn in the Short; add it when building)
- Clear tube, a tub of water that sits lower than the spout (so it cannot siphon), and a glass
Wiring, step by step
- Adapter plus (+5 V) to NE555 pin 8 (VCC). The same +5 V also goes to the 10k resistor, the second 1k resistor, the right probe rod, the pump's red lead and the diode's band.
- Adapter minus to NE555 pin 1 (GND). The same ground also goes to the START button's second terminal, the minus of the 10 uF capacitor, the 100k resistor and the TIP120 emitter.
- NE555 pin 2 (TRIG) to the other end of the 10k resistor and to the START button's first terminal. Pressing START pulls pin 2 low.
- NE555 pin 6 (THR) to the left probe rod and to the free end of the 100k resistor.
- NE555 pin 4 (RESET) to the free end of the second 1k resistor and to the plus of the 10 uF capacitor.
- NE555 pin 3 (OUT) through the other 1k resistor to the TIP120 base.
- TIP120 collector to the pump's black lead and to the diode's plain end (anode). The diode catches the voltage kick when the pump switches off.
- NE555 pin 5 (CTRL) and pin 7 (DISCH) stay open.
How it works
- The NE555 is used as a memory (a flip-flop), with no timing parts. At plug-in the 1k and the 10 uF hold pin 4 low for a moment, so the output starts off. A very slow supply ramp can defeat this.
- Pressing START pulls pin 2 low and the output goes high (about 3.7 V in the simulation). Through the 1k resistor it drives the TIP120 base at about 2.3 mA, and the TIP120 switches the pump on the ground side. The pump takes about 0.2 A, and the TIP120 drops about 0.75 V, so the pump sees about 4.25 V.
- As the glass fills, the water joins the right rod, at +5 V, to the left rod, which is wired to pin 6. When pin 6 passes about 3.3 V (the datasheet's typical level; 2.4 V to 4.2 V min to max) the output turns off and the pump stops. The rods sit about 1 cm below the rim.
- While the rods are dry, the 100k keeps pin 6 low. After the glass is emptied the rods are dry again, but nothing restarts: only a new press of START starts the pump.
- If you hold START down while the rods are wet, the output follows pin 2 and the pump keeps running until you let go. The glass can then overflow.
What the video simplifies
- The fill and the drink are sped up about 10 times or more. The glass fills in about 1 s on screen; in life it takes about 11 s or more, at an assumed 20 mL/s.
- The tub level does not fall as the glass fills, and the pump leads pass through the tub wall below the water line, which a real tub would leak through. The straw is straight and the drinker is off screen.
- The parts are drawn at mixed scales: the electronics about twice life size, the USB adapter much smaller than real.
- The water between the rods is assumed to be up to 30 kohm, and the pump flow 20 mL/s. Neither was measured. With a worst-case NE555 only water below about 19 kohm resets it, so use tap water. Distilled, reverse-osmosis or very soft water can let the glass overflow.
- There is no protection. Pressing START with no glass pumps until the tub is empty, an empty tub runs the pump dry, and there is no timeout. Hobby pump and bare rods: for a demonstration only.
- The simulation uses a behavioural NE555 model and its TIP120 drop (0.16 V) is optimistic; the datasheet figure is about 0.75 V.
- The sounds are stylised. This circuit was checked by simulation and against the datasheets, not built.
You found this by searching. Here's the whole path.
- Read how it works
- See it work
- Build it
- Show it
Thirty seconds of video shows the circuit doing its job.
Everything runs on 5 V from a USB adapter, but it mixes water and electricity, so keep the adapter and the electronics dry and well away from the tub and the glass. Never hold START down on wet rods, and do not leave it unattended.
Built it, or stuck halfway? Post a photo in the Wirecora Discord. Questions get an answer every day.
What to build next
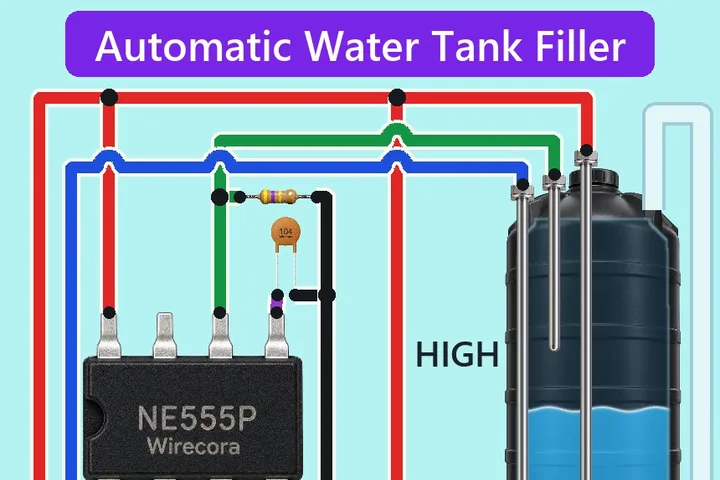 Same 555 timer + pumpAutomatic water tank filler with a 555Water leaves the LOW probe: the 555 switches the pump on.
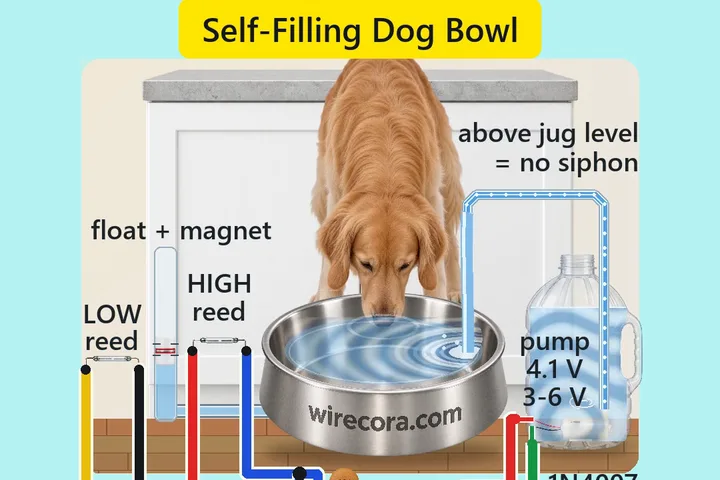 Next step: adds a reed switchSelf-filling dog water bowl with a 555, a float and two reed switchesThe dog drinks the bowl down.
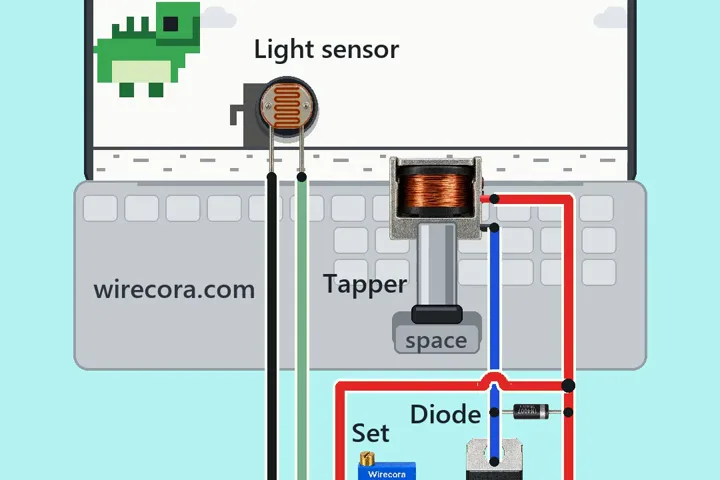 Something new: an MOSFETLight sensor that plays the dino gameA light sensor stuck on a laptop screen watches for a dark cactus sliding toward the dinosaur.