Self-cleaning litter box
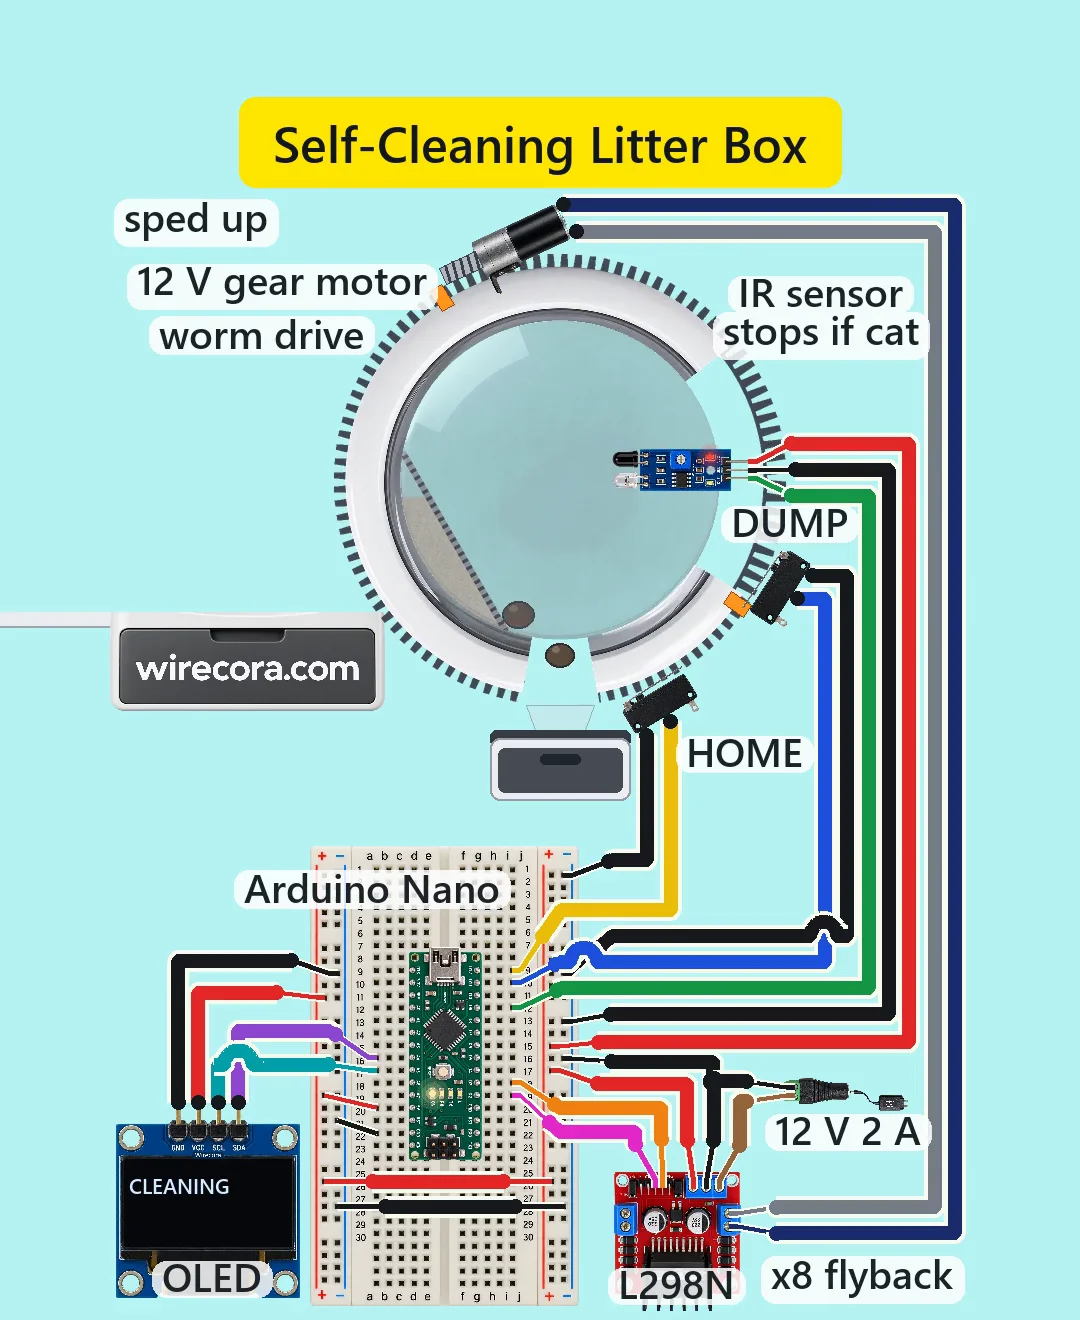
When the cat has been out of the drum for seven minutes, an Arduino Nano turns the drum half a turn. The litter pours through a sieve and the clumps drop out of a port into a drawer, then the drum rolls back level. While the IR sensor sees the cat, the drum stays locked, and if the cat comes back mid-turn the motor stops.
- 8 parts
- 8 wiring steps
- Arduino code
- 12 V supply
Quick answer
The short version. Every pin is in the full wiring below.What you need
- Arduino Nano, on a half breadboard
- L298N motor driver module
- 12 V 2 A DC adapter, with a DC barrel jack
- 12 V JGB37-520 gear motor
- FC-51 IR obstacle sensor module
- Lever microswitch
- 0.96 inch I2C OLED screen
- A drum with a doorway
How to wire it
- 12 V adapter plus (via the jack) to the L298N 12V terminal.
- L298N +5V terminal to the breadboard plus rail, and from it to the Nano 5V pin, the IR sensor VCC and the OLED VCC.
- L298N GND to the breadboard minus rail, and from it to the Nano GND, the IR sensor GND, the OLED GND and the COM contact of both limit switches.
- IR sensor OUT to Nano D9.
- HOME switch NO contact to Nano D12 and DUMP switch NO contact to Nano D11.
- Nano D3 to L298N IN1 and Nano D2 to L298N IN2.
- L298N OUT1 and OUT2 to the two motor leads.
- OLED SDA to Nano A4 and OLED SCL to Nano A5.
Before you power it: Everything after the adapter runs on 12 V DC. The IR sensor is a demo-level cat detector and can miss dark fur or a kitten, so add a load cell before a real cat uses it, and never plug USB into the Nano while the 12 V adapter is on.
Parts list
- Arduino Nano, on a half breadboard
- L298N motor driver module (its on-board 78M05 regulator makes the 5 V; its 5 V jumper is on and ENA is jumpered on)
- 12 V 2 A DC adapter, with a DC barrel jack
- 12 V JGB37-520 gear motor, 107 rpm, with a worm that turns the drum by its toothed rim
- FC-51 IR obstacle sensor module (OUT goes LOW while something is in range)
- Lever microswitch, two of them, one for DUMP and one for HOME
- 0.96 inch I2C OLED screen (address 0x3C)
- A drum with a doorway, a sieve and a waste port, and a drawer for the clumps
Wiring, step by step
- 12 V adapter plus (via the jack) to the L298N 12V terminal. The adapter minus goes to the L298N GND terminal.
- L298N +5V terminal to the breadboard plus rail, and from it to the Nano 5V pin, the IR sensor VCC and the OLED VCC. The Nano VIN pin stays empty.
- L298N GND to the breadboard minus rail, and from it to the Nano GND, the IR sensor GND, the OLED GND and the COM contact of both limit switches.
- IR sensor OUT to Nano D9. The sketch reads LOW as cat seen.
- HOME switch NO contact to Nano D12 and DUMP switch NO contact to Nano D11. Both use the Nano's internal pull-ups, so a pressed switch reads LOW.
- Nano D3 to L298N IN1 and Nano D2 to L298N IN2. IN1 turns the drum toward DUMP, IN2 toward HOME.
- L298N OUT1 and OUT2 to the two motor leads. If the drum turns the wrong way, swap the two motor leads.
- OLED SDA to Nano A4 and OLED SCL to Nano A5.
How it works
- While the IR sensor sees the cat, the sketch keeps the motor off and the OLED says CAT IN, drum locked.
- Once the cat has gone, the OLED counts a 7 minute wait down. Then it says CLEANING and the Nano sets IN1 high, so the drum turns toward the DUMP switch until it closes.
- As the drum turns, the sieve keeps the clean litter and the clumps slide out of the waste port into the drawer. After a 3 second pause the Nano sets IN2 high and the drum rolls back until the HOME switch closes.
- Two guards stop the motor: the IR sensor seeing the cat again, or 120 seconds passing without reaching a switch. After a stop the Nano waits until the sensor is clear, waits 10 seconds more and rolls home; after repeated stops the OLED shows JAMMED and the motor stays off until the board is reset.
The code: litter_box.ino
The Arduino code for this circuit is in the Wirecora Discord, in the channel #arduino-code (owner’s choice, 14 October 2026: the code lives where you can ask about it). It is a plain .ino file you can download there.
The sketch the Short was animated from, run step by step in a simulation; it has not been run on a real board yet. It needs the Adafruit GFX and Adafruit SSD1306 libraries (Sketch, Include Library, Manage Libraries). The jam limit is set to 120 seconds, about twice the computed half turn; change it if your drum is slower.
What the video simplifies
- The half turn is drawn in 1.5 seconds. A real one takes about 56 seconds, so the video is about 37 times faster, and the 3 second pause is drawn about 8 times shorter.
- The 7 minute wait is counted down in fast forward on the OLED.
- The electronics are drawn far larger than the drum (the motor and IR module about twice), the front is see-through, and the sieve, chute and worm are simplified. A real build needs a worm guard and a sieve hole size that passes grains and holds clumps.
- Litter weight, torque and motor current are typical values, not measured: about 0.44 A and 53 rpm at 10 V, about 0.55 A of the 2 A adapter while running.
- The IR view is drawn as a glow, and the cat is staged.
- The video shows no LM2596 module; the 5 V comes from the L298N's 78M05, which runs warm.
- The sound was added afterwards. This circuit was checked by simulation and datasheets, not built.
You found this by searching. Here's the whole path.
- Read how it works
- See it work
- Build it
- Show it
Thirty seconds of video shows the circuit doing its job.
Everything after the adapter runs on 12 V DC. The IR sensor is a demo-level cat detector and can miss dark fur or a kitten, so add a load cell before a real cat uses it, and never plug USB into the Nano while the 12 V adapter is on.
Built it, or stuck halfway? Post a photo in the Wirecora Discord. Questions get an answer every day.
What to build next
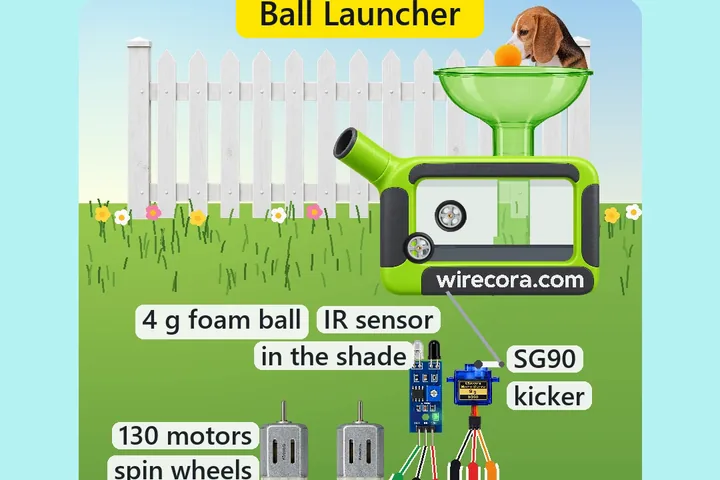 Same Arduino + motorDog ball launcherA beagle drops a foam ball into the funnel on top and this launcher throws it back across the lawn.
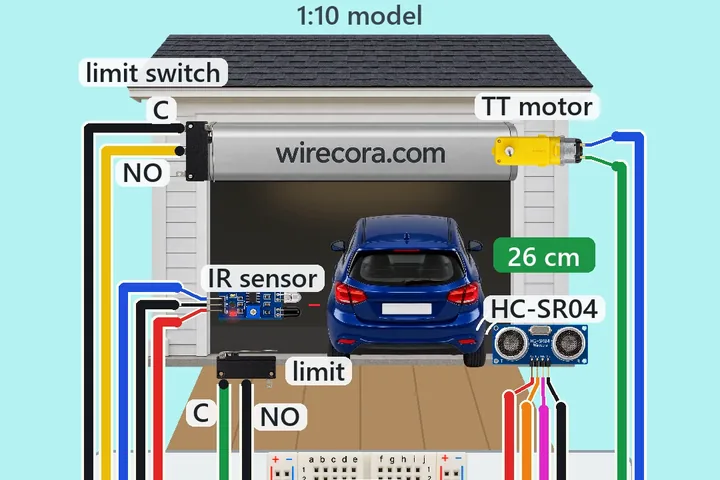 Next step: adds an ultrasonic sensorModel garage door that opens for a car, with an Arduino Nano, an HC-SR04 and an L298NA car rolls up the driveway.
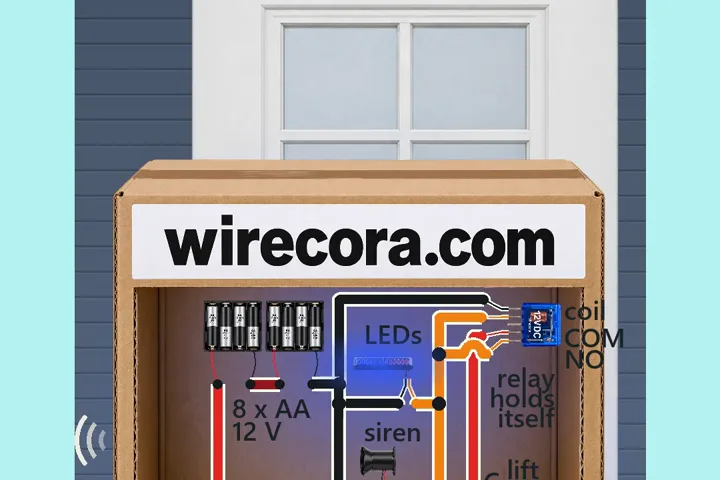 Something new: a relayParcel alarm that keeps goingLift the parcel and a siren sounds with red and blue strobe flashes.