Car window switch, no relay
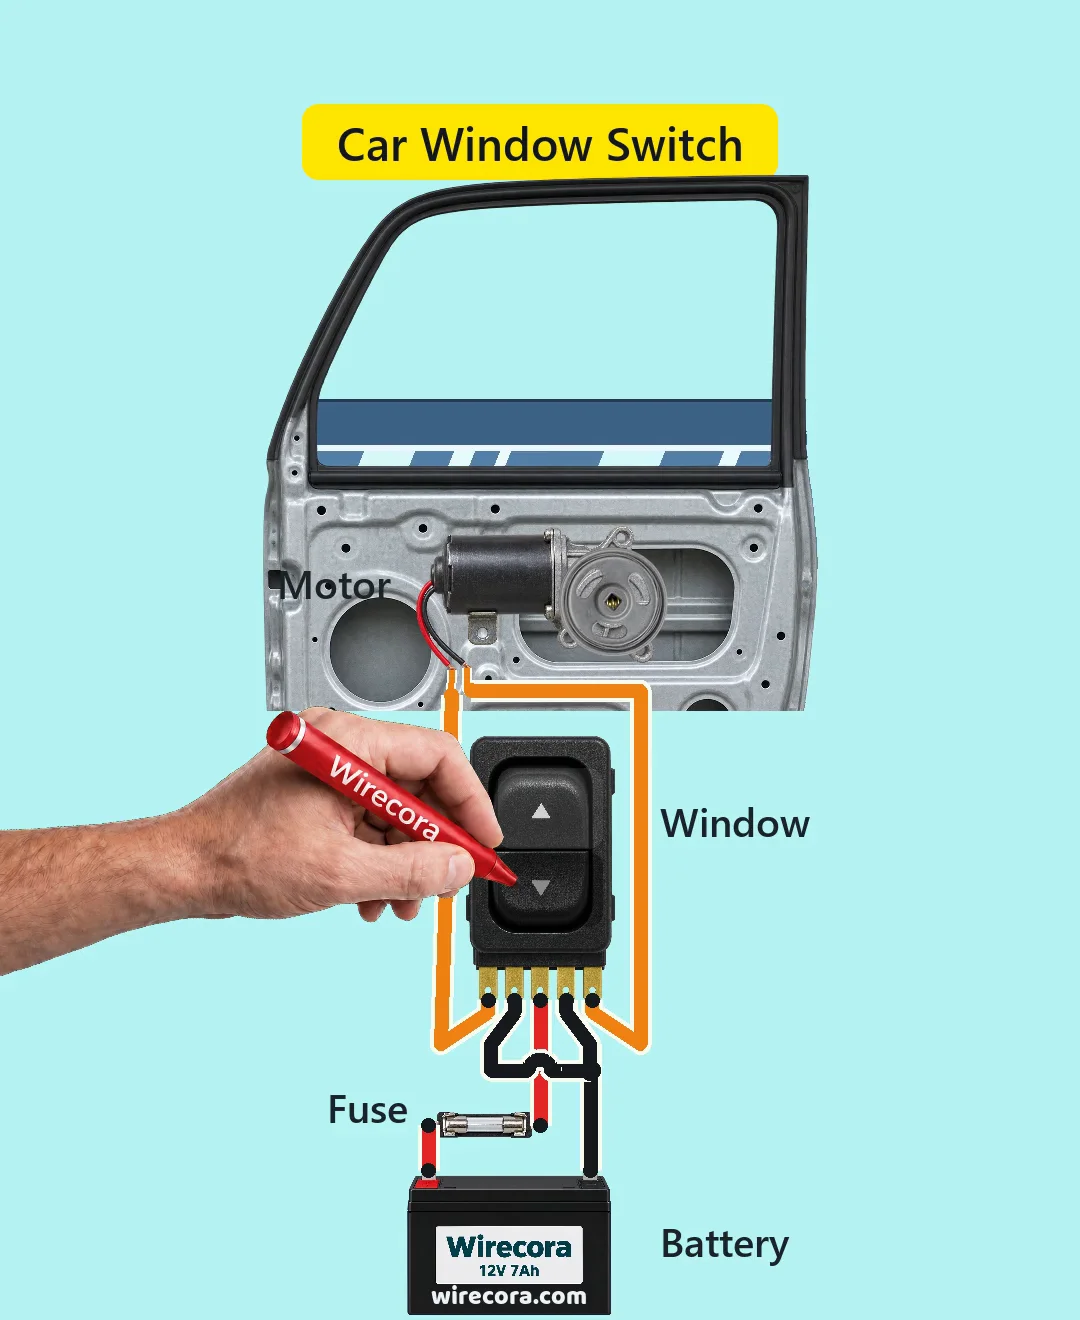
Press one end of the little rocker switch and the car window slides down. Press the other end and it slides back up. Let go and it stops at once. There is no chip and no relay in this circuit, just the switch, a fuse, a battery and the motor.
- 4 parts
- 5 wiring steps
- No code needed
- 12 V supply
Quick answer
The short version. Every pin is in the full wiring below.What you need
- 12 V 7 Ah battery
- Blade or glass car fuse, sized for your motor
- Universal 5-pin window rocker switch
- 12 V window lift motor
How to wire it
- Battery plus to one end of the fuse.
- Other end of the fuse to the rocker switch's middle pin (pin 3, +12 V).
- Battery minus to the switch's pins 2 and 4 (both ground).
- Switch pin 1 to the motor's first lead (the red one in the Short).
- Switch pin 5 to the motor's second lead (the black one in the Short).
Before you power it: A window can trap fingers, so keep hands clear. Do not hold the switch at the end of travel, because the stalled motor gets hot, and fit a fuse sized for your motor in the +12 V lead.
Parts list
- 12 V 7 Ah battery
- Blade or glass car fuse, sized for your motor
- Universal 5-pin window rocker switch (drawn here as: motor, ground, +12 V, ground, motor; pin orders differ between makers)
- 12 V window lift motor
Wiring, step by step
- Battery plus to one end of the fuse.
- Other end of the fuse to the rocker switch's middle pin (pin 3, +12 V).
- Battery minus to the switch's pins 2 and 4 (both ground).
- Switch pin 1 to the motor's first lead (the red one in the Short).
- Switch pin 5 to the motor's second lead (the black one in the Short).
How it works
- At rest, both motor wires sit on ground through the switch. With both motor wires at the same voltage the motor gets no current, and shorted like this it brakes, so it stops quickly.
- Press one end of the rocker and that side's motor wire moves from ground to +12 V. The motor now has 12 V across it and turns one way, so the glass goes down.
- Press the other end and the other motor wire gets the +12 V while the first stays on ground. The current runs the other way and the glass goes back up.
- Let go and both sides fall back to ground, so the motor stops at once.
- There is no diode across the motor on purpose: with a reversing switch it would short the battery in one direction.
What the video simplifies
- The door is shown with its trim panel off and cut short. The window regulator and its cable are left out, and the cable drum on the motor is an illustration.
- The glass moves about 1.4 s per stroke. Real windows usually take a few seconds, and up and down are drawn at the same speed.
- The switch is drawn larger than real next to the door.
- The switch's pin order is our own generic drawing, not a specific brand. Pin orders differ between makers, so check your own switch with a meter first.
- Typical window motors draw 3 to 7 A running and 13 to 28 A stalled. These figures come from seller listings, not from measuring. Size the fuse and the switch for your motor; real cars often put a relay or a module in between.
- This exact rig was worked out from the switch logic and seller listings; it was not built.
You found this by searching. Here's the whole path.
- Read how it works
- See it work
- Build it
- Show it
Thirty seconds of video shows the circuit doing its job.
A window can trap fingers, so keep hands clear. Do not hold the switch at the end of travel, because the stalled motor gets hot, and fit a fuse sized for your motor in the +12 V lead.
Built it, or stuck halfway? Post a photo in the Wirecora Discord. Questions get an answer every day.
What to build next
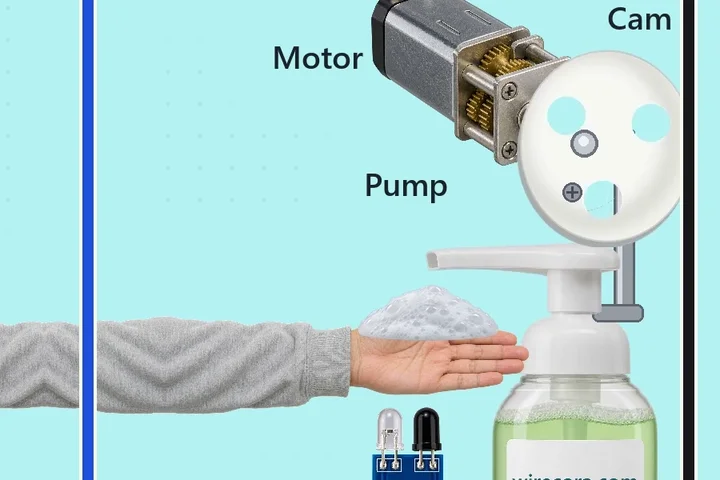 Same motorTouchless foam soap dispenserYou hold a hand under the nozzle.
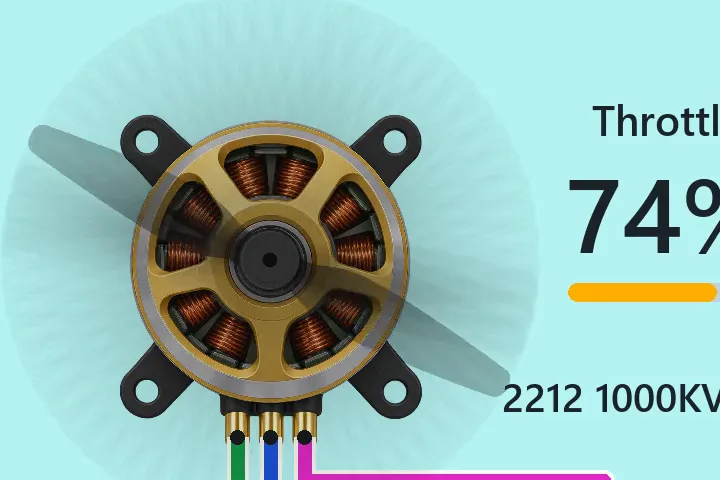 Next step: adds an ArduinoDrone motor speed control with an Arduino Nano, a pot and an ESCTurn a knob and a drone motor's propeller speeds up from 0 to 100 % throttle, then slows back down.
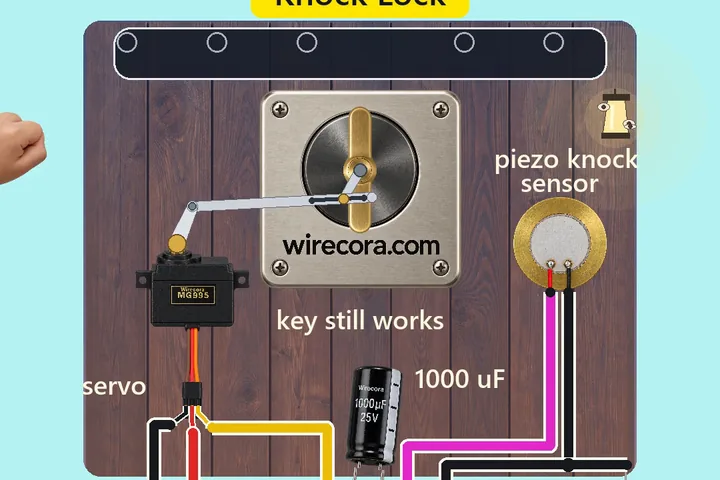 Something new: an ArduinoSecret knock door lockKnock the secret rhythm on the door and the deadbolt turns for you.