Does a bigger resistor make the LED dimmer?
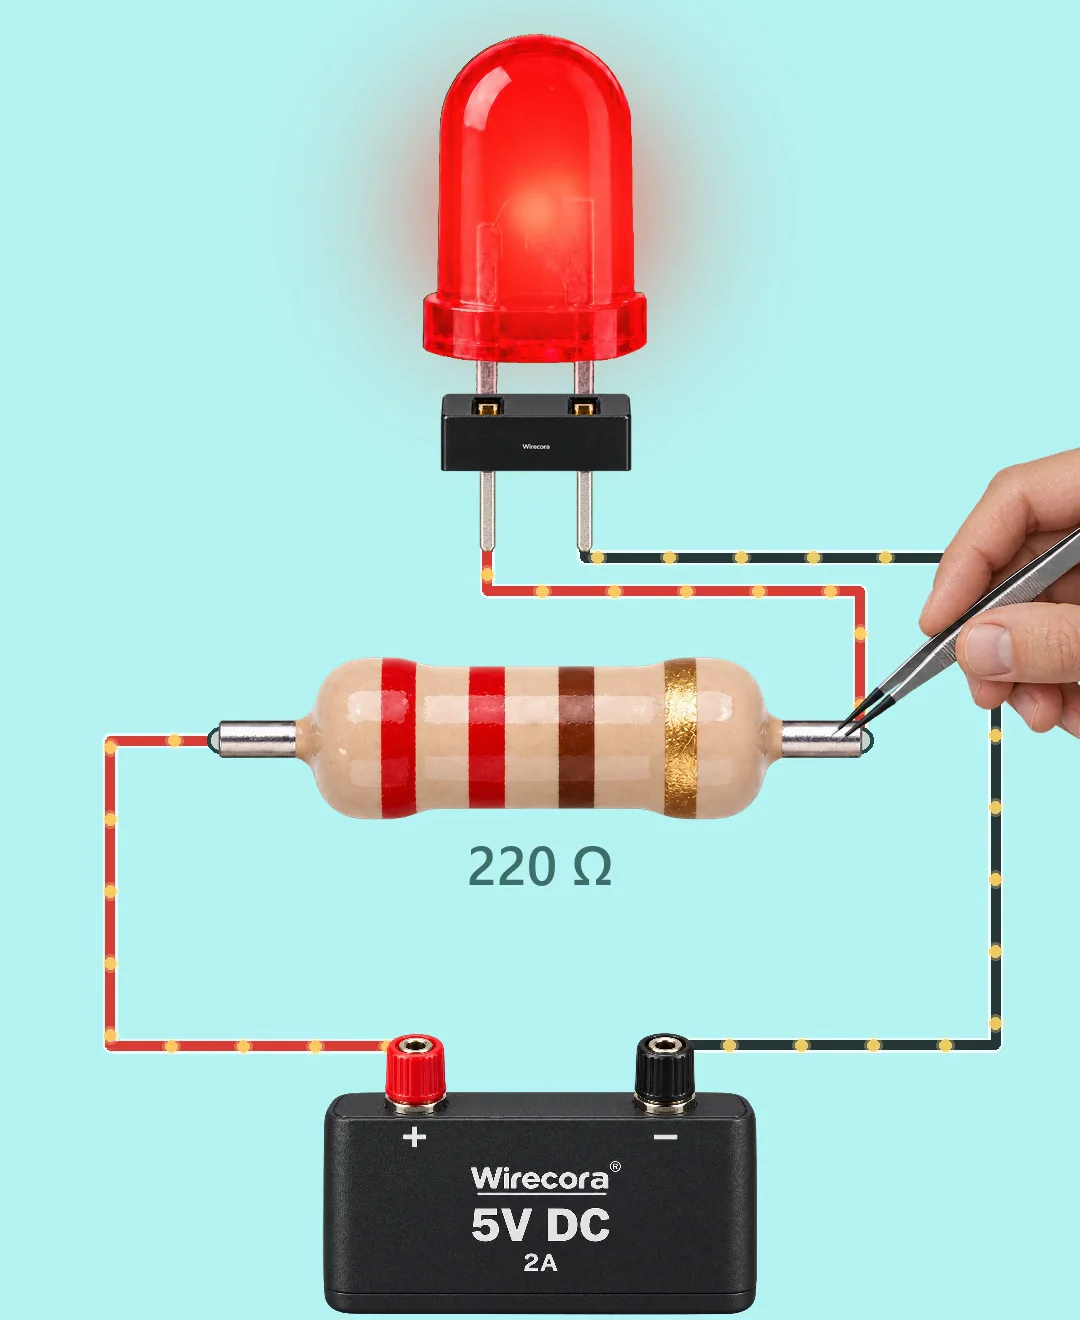
A red LED, a resistor and a 5 V supply sit in one loop. A bigger resistor lets less current through, so the LED gets dimmer. A smaller one makes it brighter.
- 3 parts
- 3 wiring steps
- No code needed
- 5 V supply
Quick answer
The short version. Every pin is in the full wiring below.What you need
- 5 V DC supply
- Red LED
- Resistors to try: 220 ohm, 1 kohm, 10 kohm
How to wire it
- Supply plus to one end of the resistor.
- The other end of the resistor to the LED anode (the long leg).
- The LED cathode back to supply minus.
Before you power it: 5 V DC and under 15 mA. This is safe. Never connect an LED straight to a supply with no resistor. It draws too much current and burns out.
Parts list
- 5 V DC supply
- Red LED (about 2 V when lit)
- Resistors to try: 220 ohm, 1 kohm, 10 kohm
Wiring, step by step
- Supply plus to one end of the resistor.
- The other end of the resistor to the LED anode (the long leg).
- The LED cathode back to supply minus.
How it works
- The resistor and the LED share one loop, so the same current flows through both. The current is (5 V - 2 V) divided by the resistor.
- 220 ohm gives 13.6 mA. The LED is bright.
- 1 kohm gives 3 mA. The LED is dimmer.
- 10 kohm gives 0.3 mA. The LED barely glows.
- All the currents are under the LED's 20 mA limit, and every resistor stays far below 1/4 W. While a resistor is lifted out the loop is open and the LED is dark.
What the video simplifies
- The brightness steps are illustrative, not photometric. The drawn levels are 100 %, 37 % and 8 %.
- The red LED is taken as exactly 2.0 V. A real red LED drops a little less at very low current (about 1.7 to 1.8 V at 0.3 mA), so the real currents are slightly higher: about 3.1 mA and 0.32 mA.
- A modern high-efficiency LED at 0.3 mA is still clearly visible in a dim room. The 10 kohm case looks dark only next to the bright one.
- The moving dots show the current flow. Their speed and strength follow the current, but the scale is for drawing.
- The tweezers, the swap speed and the glow bloom are staging. A real supply is assumed not to limit its current at these values.
You found this by searching. Here's the whole path.
- Read how it works
- See it work
- Try it on the board
- Build it
- Show it
Next: see it work
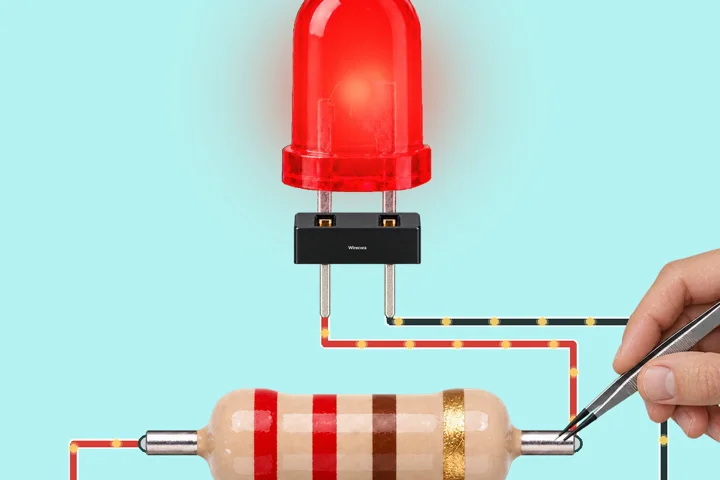
Thirty seconds of video shows the circuit doing its job. Then this whole circuit is on the wiring board. Wire it there first and watch it work before you touch a real part.
Then build it
5 V DC and under 15 mA. This is safe. Never connect an LED straight to a supply with no resistor. It draws too much current and burns out.
Then show it
Built it, or stuck halfway? Post a photo in the Wirecora Discord. Questions get an answer every day.
What to build next
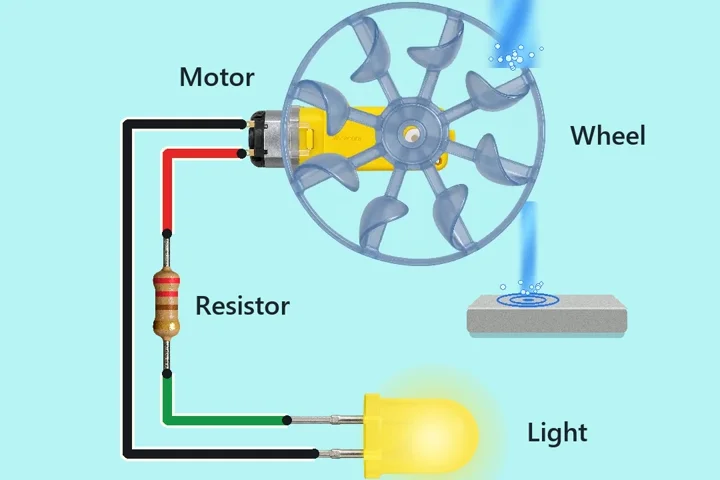 Similar partsRain-powered water wheel lightWater from a gutter downpipe turns a paddle wheel.
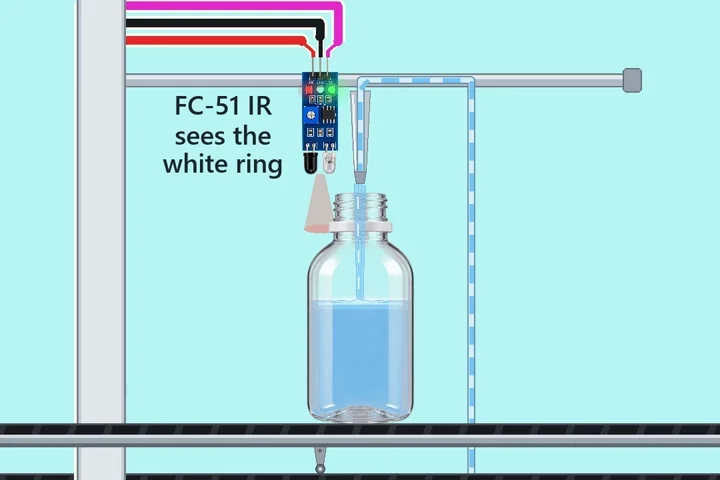 Something new: an ArduinoArduino bottle filler with one relayA belt brings an empty bottle.
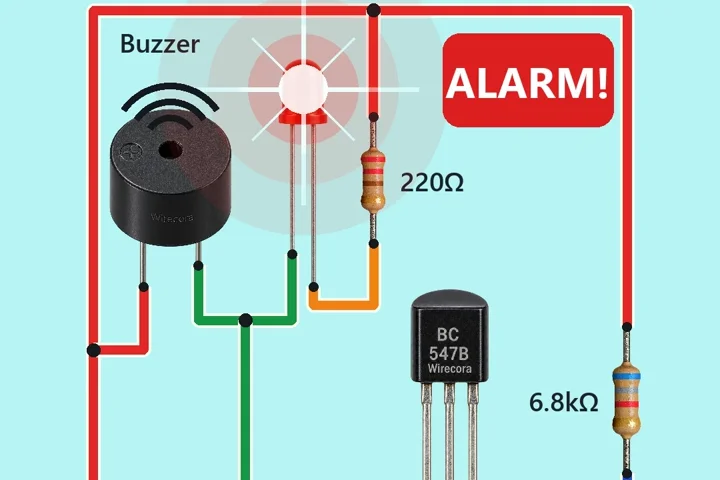 Similar partsReed switch door alarmA magnet next to the reed switch means the door is closed, and the circuit is silent.