One-axis self-leveling gimbal: Arduino Nano, MPU6050 and an SG90
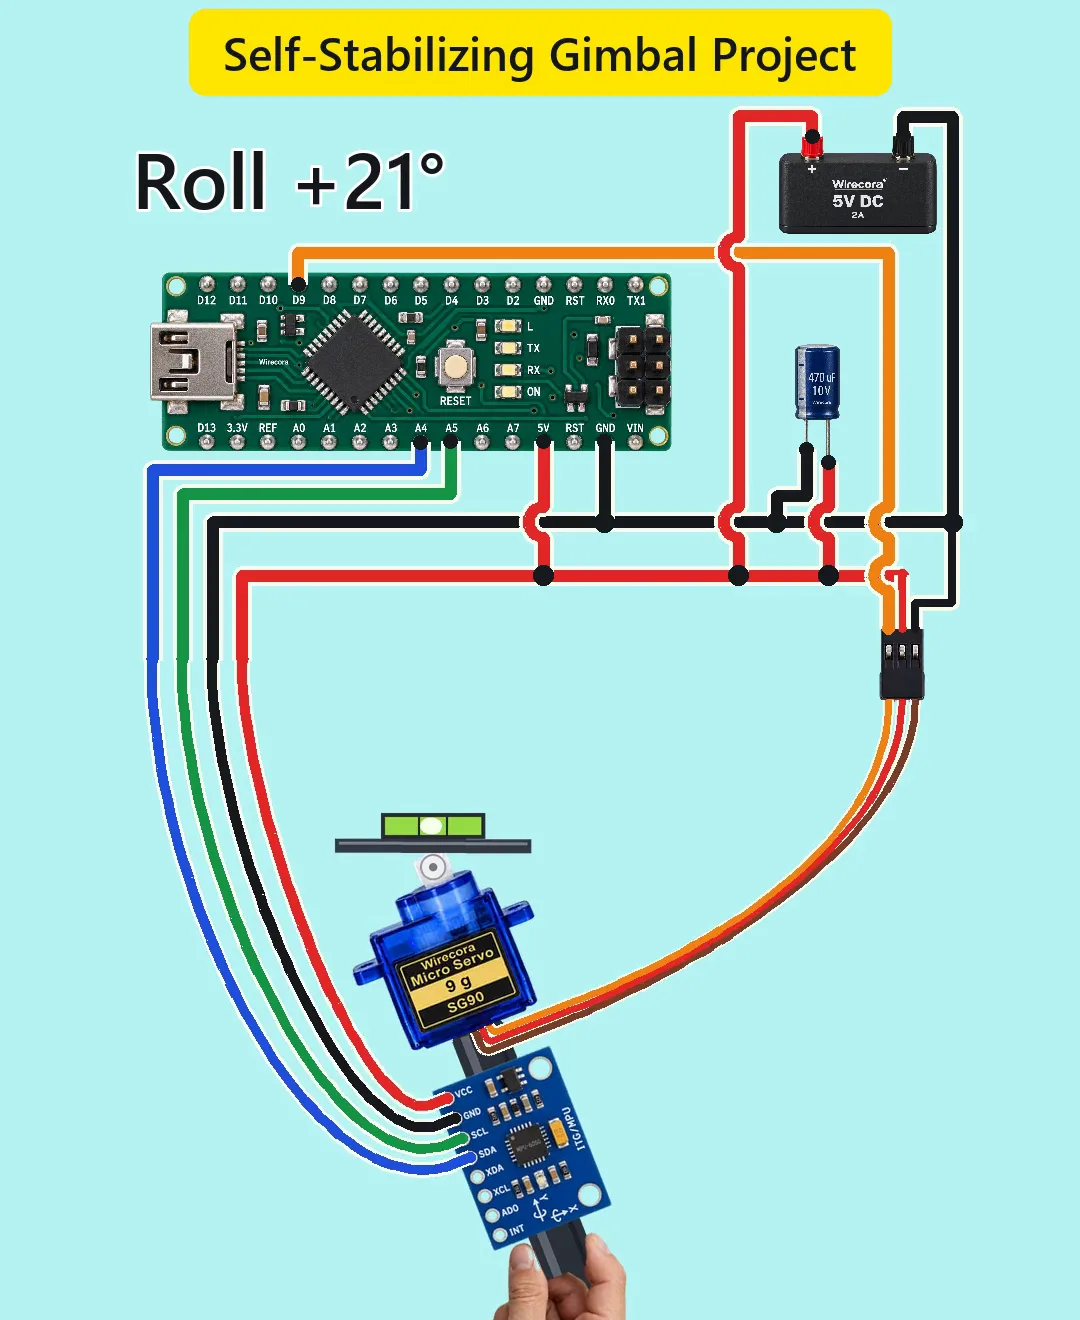
A hand tilts the handle 25 degrees left and right. The MPU6050 on the handle feels the tilt, the Arduino turns the SG90 servo back by the same angle, and the platform on the servo stays level.
- 6 parts
- 6 wiring steps
- Arduino code
- 5 V supply
Quick answer
The short version. Every pin is in the full wiring below.What you need
- Arduino Nano
- GY-521 board with an MPU-6050
- SG90 micro servo
- Regulated 5 V 2 A supply
- 470 uF 10 V electrolytic capacitor
- Jumper wires
How to wire it
- GY-521 SDA to Nano A4 and SCL to Nano A5.
- Servo orange lead (signal) to Nano D9.
- Supply + to the Nano 5V pin, the GY-521 VCC and the servo red lead.
- 470 uF across the servo supply: long leg on +5 V, striped leg on GND.
- Mount the GY-521 and the servo on the handle so they tilt with it.
- The 5V pin skips the Nano's regulator, so never feed it more than 5 V.
Before you power it: Everything runs on 5 V from a regulated supply. Use only a regulated 5 V on the Nano's 5V pin, nothing on VIN, and upload with USB before connecting the supply. Keep fingers clear of the moving servo horn.
Parts list
- Arduino Nano (5 V, ATmega328P)
- GY-521 board with an MPU-6050 (3 to 5 V in, it has its own 3.3 V regulator; I2C address 0x68)
- SG90 micro servo (4.8 V, 0.1 s per 60 degrees; brown = GND, red = +, orange = signal)
- Regulated 5 V 2 A supply
- 470 uF 10 V electrolytic capacitor (stripe = minus)
- Jumper wires, and a handle to carry the GY-521 and the servo
Wiring, step by step
- GY-521 SDA to Nano A4 and SCL to Nano A5. GY-521 VCC to +5 V and GND to GND. AD0, XDA, XCL and INT are left unconnected (the board pulls AD0 low, so the address is 0x68).
- Servo orange lead (signal) to Nano D9. Servo red lead to +5 V. Servo brown lead to supply ground, not to the Nano.
- Supply + to the Nano 5V pin, the GY-521 VCC and the servo red lead. Supply minus to the Nano GND pin, the GY-521 GND and the servo brown lead. One common ground. Leave VIN empty.
- 470 uF across the servo supply: long leg on +5 V, striped leg on GND.
- Mount the GY-521 and the servo on the handle so they tilt with it. In the Short the GY-521 is turned 90 degrees clockwise on the handle (its X arrow points right, its Y arrow up); the sketch below is written for that mounting.
- The 5V pin skips the Nano's regulator, so never feed it more than 5 V. Do not power the servo from USB; USB is only for uploading the sketch.
How it works
- The MPU-6050's accelerometer measures gravity. Handle upright: ax = 0, ay = 1 g. Leaning left by an angle a: ax = sin a, ay = cos a, so atan2(ax, ay) gives the lean angle exactly.
- Every 20 ms the sketch reads ax and ay over I2C, works out the roll in degrees and writes servo angle = 90 - roll. At 25 degrees of lean that is 65 degrees (1214 us); at -25 it is 115 degrees (1730 us). The horn turns back by the same angle and the platform stays within about 1.6 degrees of level (the 20 ms sampling lag).
- The servo needs at most 83 degrees per second here, against its 600 degrees per second.
- ngspice on the drawn netlist gives a 3.3 V rail of 3.29 V, an I2C high level of about 3.4 V (board pull-ups and the Nano's internal ones) and a low of 0.04 V. The Nano's logic thresholds (3.0 V high, 1.5 V low) are met. The high level is 0.1 V above the MPU's supply but inside its VDD + 0.5 V input limit.
- Current: about 31 mA idle, about 0.2 A while the servo moves, 0.67 A peak, against 2 A. With the 470 uF the 5 V at the Nano dips to 4.83 V when the servo turns, without it to 4.33 V. With thin 0.5 ohm supply leads the wiring dominates and the capacitor helps little.
The code: gimbal_roll.ino
The Arduino code for this circuit is in the Wirecora Discord, in the channel #arduino-code (owner’s choice, 14 October 2026: the code lives where you can ask about it). It is a plain .ino file you can download there.
The sketch the Short was animated from, run step by step in a simulation; it has not been run on a real board. It assumes the GY-521 turned 90 degrees clockwise on the handle (X arrow right, Y arrow up). A servo that turns the other way needs 90 + r.
What the video simplifies
- One roll axis only. A real two-axis gimbal puts a pitch servo on the platform, on D10.
- The handle, platform, horn hub and bubble level are drawn graphics. The servo is drawn from the side but its horn turns in the picture plane, as if the shaft faced you; on a real roll gimbal the shaft points along the roll axis.
- Accelerometer only, no gyro and no filter. The error from the hand's own motion (up to about 2 degrees at the fastest swing) is not shown.
- The number on screen is the roll the sketch computes and prints on the Serial monitor; there is no display in the circuit.
- Some servos turn the other way and need 90 + roll.
- Sizes are not to scale, and the hand image is reused from another video.
- This circuit was checked by simulation and datasheets, not built.
You found this by searching. Here's the whole path.
- Read how it works
- See it work
- Build it
- Show it
Thirty seconds of video shows the circuit doing its job.
Everything runs on 5 V from a regulated supply. Use only a regulated 5 V on the Nano's 5V pin, nothing on VIN, and upload with USB before connecting the supply. Keep fingers clear of the moving servo horn.
Built it, or stuck halfway? Post a photo in the Wirecora Discord. Questions get an answer every day.
What to build next
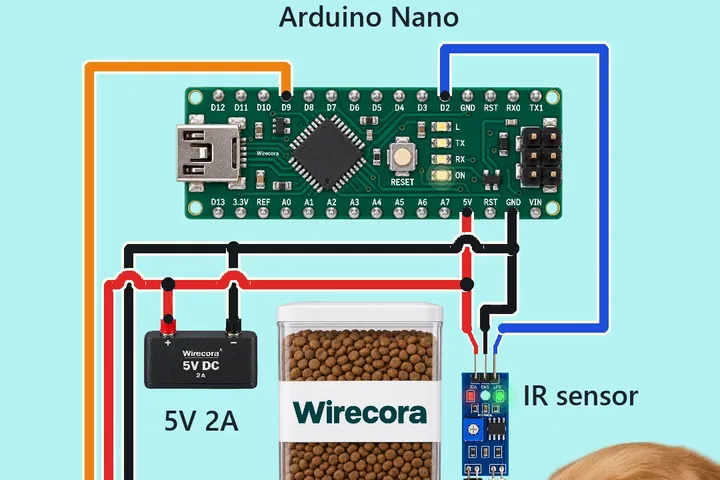 Same Arduino + servoAutomatic pet feeder with an Arduino Nano, an IR sensor and a servo flapA dog, then a cat, walk up to the bowl.
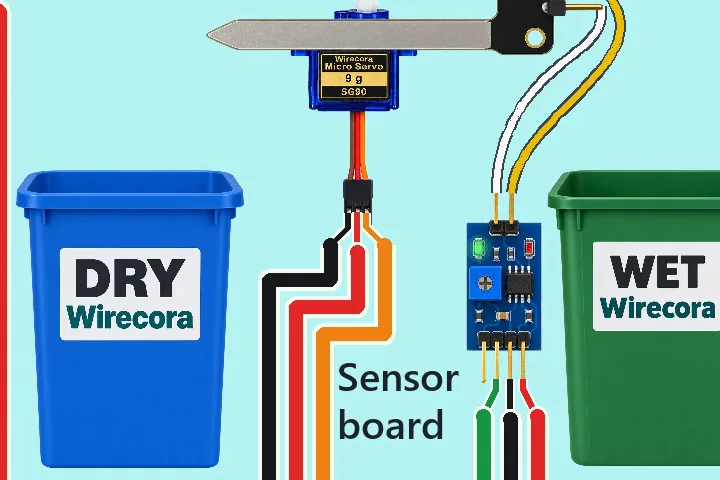 Next step: adds an IR sensorAutomatic wet and dry waste sorter with an Arduino NanoA dry plastic bottle tips into the DRY bin, a damp banana peel into the WET bin.
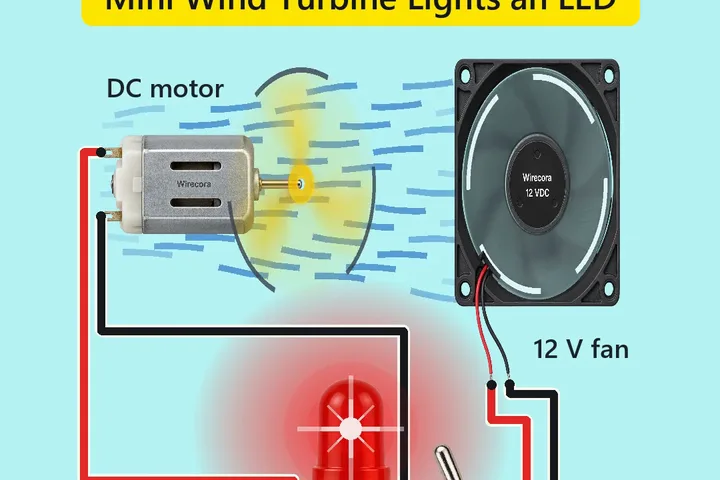 Something new: a motorMini wind turbine that lights an LED: a 12 V fan, a motor and a 100 ohm resistorA 12 V fan blows on a propeller fixed to a small DC motor.