Automatic wet and dry waste sorter with an Arduino Nano
A dry plastic bottle tips into the DRY bin, a damp banana peel into the WET bin. An IR sensor sees that something landed on the tray, a soil-moisture fork decides wet or dry, and one SG90 servo tips the tray 35 degrees to the right (wet) or to the left (dry), then levels it again.
- 6 parts
- 6 wiring steps
- Arduino code
- 5 V supply
Quick answer
The short version. Every pin is in the full wiring below.What you need
- Arduino Nano
- FC-51 IR obstacle sensor module
- Soil-moisture fork with its LM393 comparator board
- SG90 servo
- 5 V 2 A supply
- A tray
How to wire it
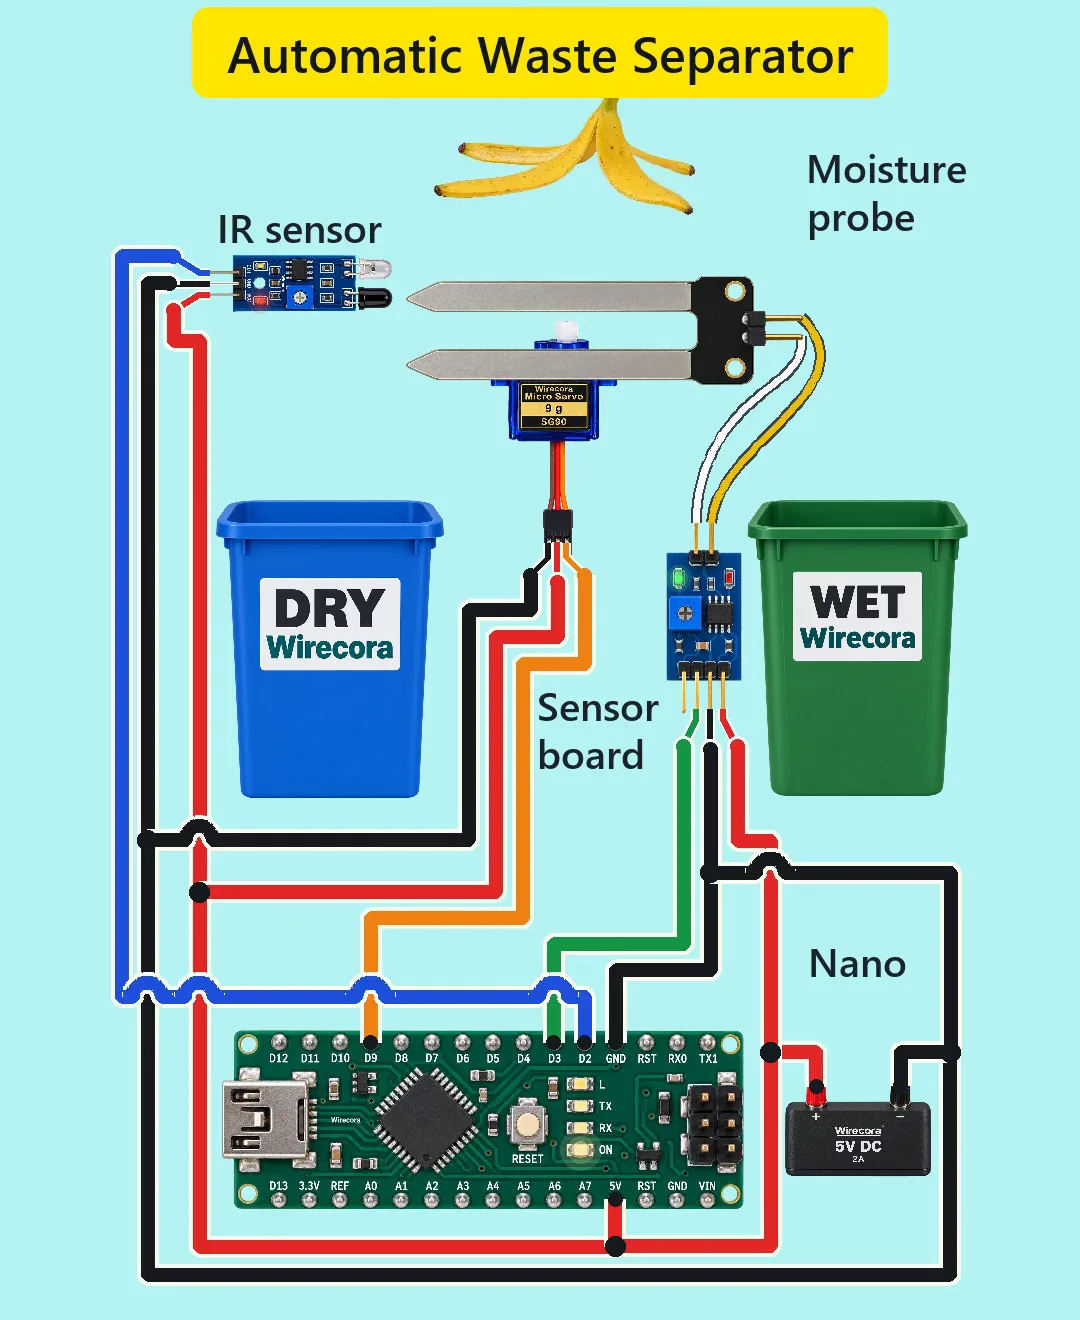
- IR sensor OUT to Nano D2.
- Sensor board DO to Nano D3.
- Servo signal (orange) to Nano D9.
- The fork's two pins to the board's two input pins, either way round.
- Supply plus to the Nano 5V pin, the IR sensor's VCC, the board's VCC and the servo's red wire.
- Follow the pin print on your own sensor boards; the pin order of the board in the Short is not confirmed from a primary source.
Before you power it: Everything here runs on 5 V DC. Keep fingers clear of the tipping tray.
Parts list
- Arduino Nano
- FC-51 IR obstacle sensor module (OUT goes LOW when something is in front of it)
- Soil-moisture fork with its LM393 comparator board (the board's DO output goes LOW when the fork is wet)
- SG90 servo (brown = ground, red = 5 V, orange = signal)
- 5 V 2 A supply
- A tray, two bins, and a bottle and a peel to test with
Wiring, step by step
- IR sensor OUT to Nano D2.
- Sensor board DO to Nano D3. Its AO pin is not used.
- Servo signal (orange) to Nano D9.
- The fork's two pins to the board's two input pins, either way round.
- Supply plus to the Nano 5V pin, the IR sensor's VCC, the board's VCC and the servo's red wire. Supply minus to every GND.
- Follow the pin print on your own sensor boards; the pin order of the board in the Short is not confirmed from a primary source.
How it works
- When something lands on the tray the IR sensor's OUT goes LOW, and the Nano sees D2 go LOW.
- The tray is the probe. A damp peel across the fork's two prongs conducts, the board's comparator trips and pulls DO LOW. A dry bottle does not conduct and DO stays HIGH.
- The sketch waits 0.3 s, reads D3, then turns the servo to 125 degrees for wet or 55 degrees for dry. After 0.7 s it returns the tray to level (90 degrees) and waits 0.4 s before the next item.
- In the circuit the damp peel is taken as about 5 kohm, which puts the probe pin near 1.67 V against the board's 2.5 V trip point. A dry bottle leaves it at 5 V. Both input levels and the board's 3.3 mA output sink are inside the parts' limits.
- The whole thing draws about 0.73 A at worst, with the servo stalled, of the 2 A supply.
The code: waste_separator.ino
The Arduino code for this circuit is in the Wirecora Discord, in the channel #arduino-code (owner’s choice, 14 October 2026: the code lives where you can ask about it). It is a plain .ino file you can download there.
The sketch from the Short's description, which the animation was checked against step by step; it has not been run on a real board yet. It uses the Servo library that comes with the Arduino IDE.
What the video simplifies
- The electronics are drawn larger than the bins, and the tray is seen from above while the bins are seen from the front.
- Four items fall every 6 seconds in the Short; a real bin would be fed by hand.
- The servo is drawn slower than a real SG90.
- A real fork is about 6 cm long: glue it into a small tray, or run two metal strips along a tray to the board's two input pins, with the fork's head and cable away from what slides off.
- Set the board's trimmer so that a damp peel reads wet (about 10 kohm or less across the prongs), and set the IR trimmer short, so it sees a bottle on the tray and not the tray's far end.
- It sorts by surface moisture: a wet bottle or anything metal goes to WET, a dried-out peel goes to DRY.
- Checked by simulation and datasheets only, not built.
You found this by searching. Here's the whole path.
- Read how it works
- See it work
- Build it
- Show it
Thirty seconds of video shows the circuit doing its job.
Everything here runs on 5 V DC. Keep fingers clear of the tipping tray.
Built it, or stuck halfway? Post a photo in the Wirecora Discord. Questions get an answer every day.
What to build next
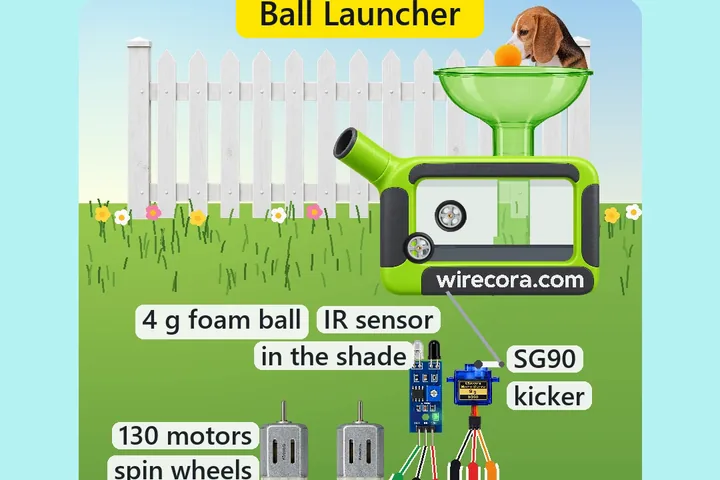 Same Arduino + servoDog ball launcherA beagle drops a foam ball into the funnel on top and this launcher throws it back across the lawn.
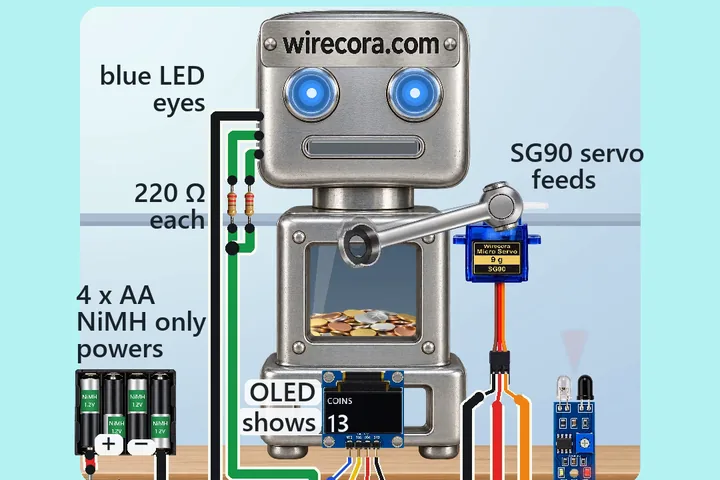 Next step: adds a displayCoin-eating robot bank with an Arduino Nano, an FC-51 IR sensor, an SG90 servo and an OLED counterSet a coin on the robot's scoop.
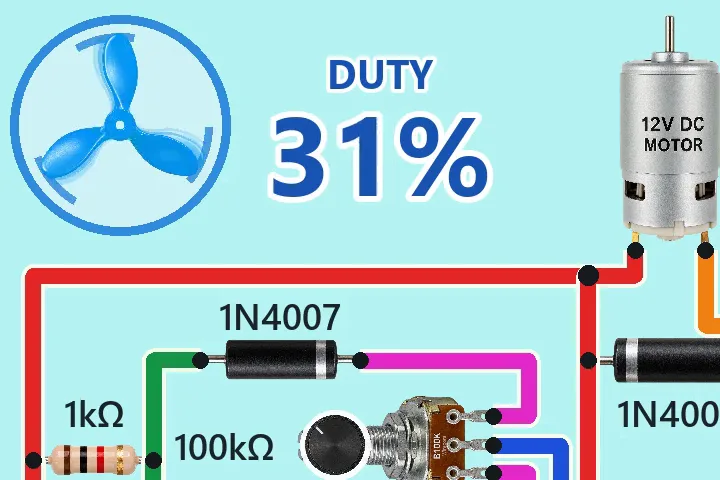 Something new: a 555 timer555 PWM speed controller for a 12 V DC motor with a TIP122A 555 timer makes the PWM that sets the speed of a small 12 V DC motor.