Robot snow blower that stops for a dog
A small robot snow blower clears a driveway, stops dead when a dog runs into its lane, and drives on once the dog is gone. An Arduino Nano watches an ultrasonic sensor at the front and stops the wheels and the rotor when something is closer than 40 cm.
- 13 parts
- 10 wiring steps
- Arduino code
- 12.8 V supply
Quick answer
The short version. Every pin is in the full wiring below.What you need
- Arduino Nano, on a half breadboard
- 12.8 V 12 Ah LiFePO4 battery with a 12 A BMS
- 15 A blade fuse, in the battery plus lead
- Red DC kill switch
- 775 DC motor
- IRLZ44N logic-level MOSFET, TO-220
- 1N5822 Schottky diode across the 775 motor
- LM2596 buck module set to 5.0 V
- L298N motor driver module
- Pololu 25D 12 V gear motor
- HC-SR04 ultrasonic sensor
- 220 ohm resistor, from D11 to the MOSFET gate
- 10 k resistor, from the MOSFET gate to ground
How to wire it
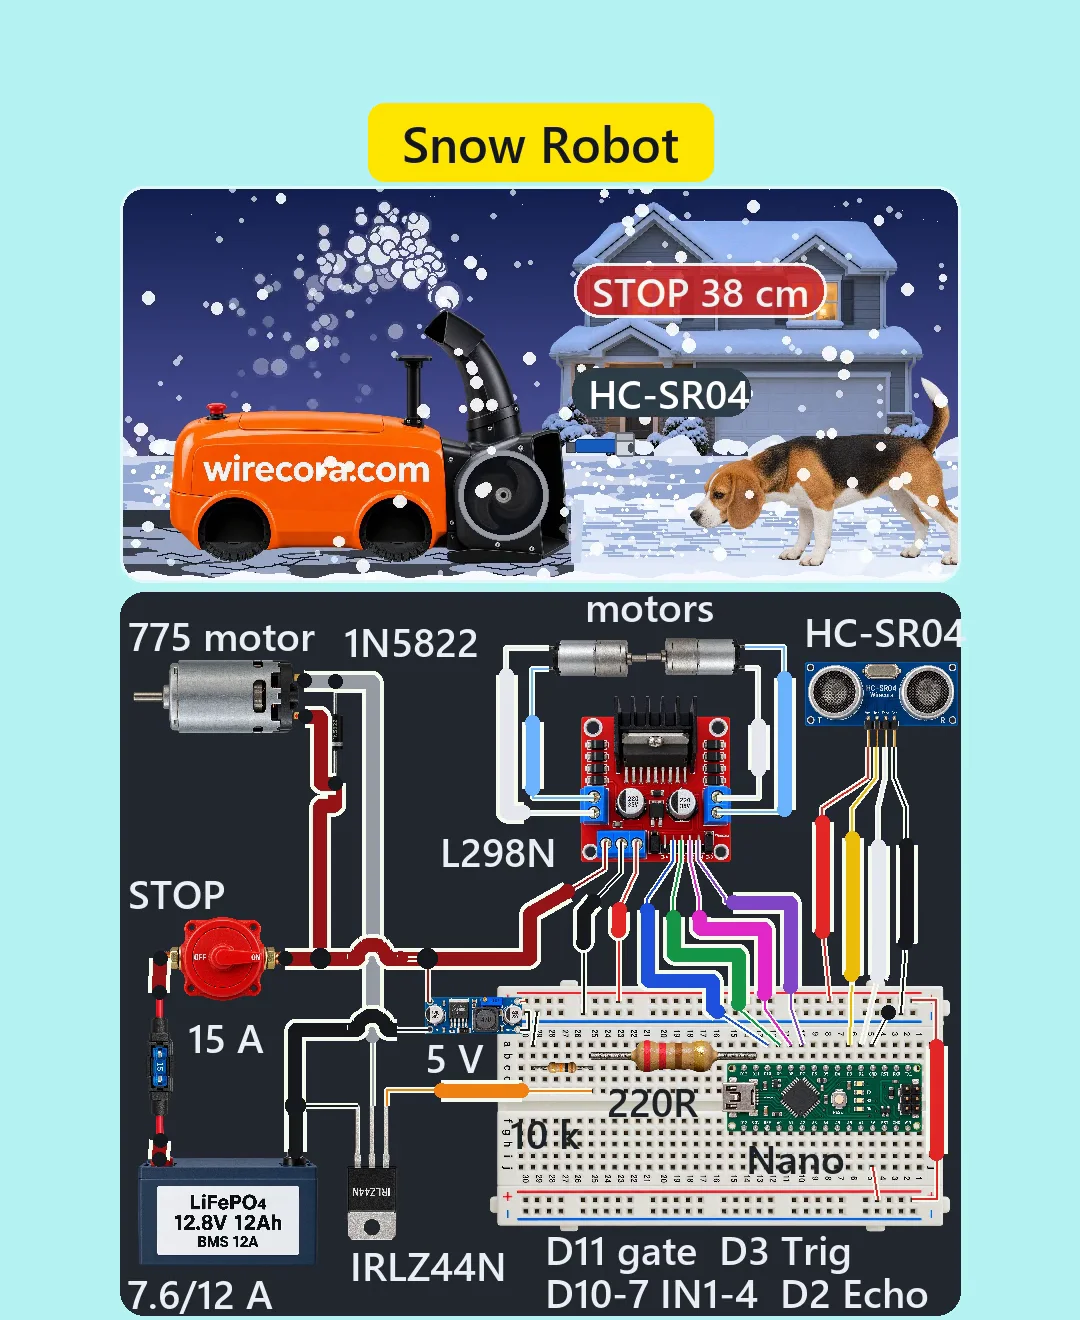
- Battery plus through the 15 A fuse and the red kill switch to the 12 V line.
- 12 V line to the 775 motor plus (red dot) tab, the L298N 12V terminal, the LM2596 IN+ and the 1N5822 cathode (band).
- 775 motor minus tab to the IRLZ44N drain and to the 1N5822 anode.
- IRLZ44N source to battery minus with a thick wire.
- Nano D11 through the 220 ohm resistor to the IRLZ44N gate, with the 10 k resistor from the gate to ground.
- LM2596 OUT+ (5.0 V) to the Nano 5V pin, the HC-SR04 VCC and the L298N +5V terminal.
- Ground (battery minus, LM2596 IN- and OUT-, L298N GND, HC-SR04 GND, Nano GND) all joined.
- Nano D10, D9, D8 and D7 to L298N IN1, IN2, IN3 and IN4.
- L298N OUT1 and OUT2 to the left gear motor, OUT3 and OUT4 to the right gear motor.
- HC-SR04 Trig to Nano D3 and Echo to Nano D2.
Before you power it: The battery is 12.8 V and can deliver a lot of current, so keep the 15 A fuse in the plus lead and never charge LiFePO4 below 0 C. The sensor is a helper, not a guarantee: it can miss low things like a cat or a child lying down, so never run it near children or pets.
Parts list
- Arduino Nano, on a half breadboard
- 12.8 V 12 Ah LiFePO4 battery with a 12 A BMS
- 15 A blade fuse, in the battery plus lead
- Red DC kill switch (the STOP switch)
- 775 DC motor, drives the paddle rotor through a belt (the rotor turns at about 3,500 rpm)
- IRLZ44N logic-level MOSFET, TO-220 (front view: gate, drain, source from the left)
- 1N5822 Schottky diode across the 775 motor (the band is the cathode)
- LM2596 buck module set to 5.0 V
- L298N motor driver module (its 5V jumper off, ENA and ENB jumpers on)
- Pololu 25D 12 V gear motor, two of them, for the wheels
- HC-SR04 ultrasonic sensor (pins VCC, Trig, Echo, GND)
- 220 ohm resistor, from D11 to the MOSFET gate
- 10 k resistor, from the MOSFET gate to ground
Wiring, step by step
- Battery plus through the 15 A fuse and the red kill switch to the 12 V line. Battery minus is the ground line.
- 12 V line to the 775 motor plus (red dot) tab, the L298N 12V terminal, the LM2596 IN+ and the 1N5822 cathode (band).
- 775 motor minus tab to the IRLZ44N drain and to the 1N5822 anode.
- IRLZ44N source to battery minus with a thick wire. That way the 7 A of the motor never passes through a module.
- Nano D11 through the 220 ohm resistor to the IRLZ44N gate, with the 10 k resistor from the gate to ground.
- LM2596 OUT+ (5.0 V) to the Nano 5V pin, the HC-SR04 VCC and the L298N +5V terminal. The Nano VIN pin stays empty.
- Ground (battery minus, LM2596 IN- and OUT-, L298N GND, HC-SR04 GND, Nano GND) all joined.
- Nano D10, D9, D8 and D7 to L298N IN1, IN2, IN3 and IN4. The right gear motor sits turned round, so the sketch drives it through IN4.
- L298N OUT1 and OUT2 to the left gear motor, OUT3 and OUT4 to the right gear motor.
- HC-SR04 Trig to Nano D3 and Echo to Nano D2.
How it works
- On the move, D11 is at full PWM so the rotor spins, and both wheels drive forward.
- The Nano pings the HC-SR04 and turns the echo time into centimetres (echo microseconds divided by 58). Three readings in a row under 40 cm stop the wheels and set the rotor PWM to zero, so one snowflake echo cannot stop it.
- While stopped it keeps measuring. It starts again only after one full second of readings over 60 cm, and if the way stays blocked for 3 seconds it turns to the next lane instead.
- To restart, the rotor ramps from 0 to full over about a second in 52 steps, so you hear it spin up before the wheels move.
- The diode across the 775 catches the voltage kick when the MOSFET switches the motor off.
The code: snow_robot.ino
The Arduino code for this circuit is in the Wirecora Discord, in the channel #arduino-code (owner’s choice, 14 October 2026: the code lives where you can ask about it). It is a plain .ino file you can download there.
The sketch the Short was animated from, run step by step in a simulation; it has not been run on a real board yet. It needs no extra library. The right motor is turned round, so it is driven through IN4; if a wheel goes the wrong way, swap that motor's two leads.
What the video simplifies
- The camera follows the robot, so the ground moves while the robot stays still.
- The dog stops closer on screen than the 38 cm reading, and it is drawn small, about 34 cm long beside a 50 cm robot.
- The plume is drawn shorter than the real 2 m throw, and the rotor is shown through a window; a real housing is closed.
- The readout and the STOP and clear tags are overlays. The electronics are drawn about 3 times larger than the robot.
- Motor current, belt, throw and push are typical or assumed values, not measured: about 7.6 A in total from the battery, about 1.4 h of clearing, and 1.2 to 1.8 W of heat in the MOSFET. It copes with light snow up to about 8 cm only.
- The sensor drawn is a plain HC-SR04, which is not waterproof; for outdoors use a JSN-SR04T (same pins and code). The sound was added afterwards.
- This circuit was checked by simulation and datasheets, not built.
You found this by searching. Here's the whole path.
- Read how it works
- See it work
- Build it
- Show it
Thirty seconds of video shows the circuit doing its job.
The battery is 12.8 V and can deliver a lot of current, so keep the 15 A fuse in the plus lead and never charge LiFePO4 below 0 C. The sensor is a helper, not a guarantee: it can miss low things like a cat or a child lying down, so never run it near children or pets.
Built it, or stuck halfway? Post a photo in the Wirecora Discord. Questions get an answer every day.
What to build next
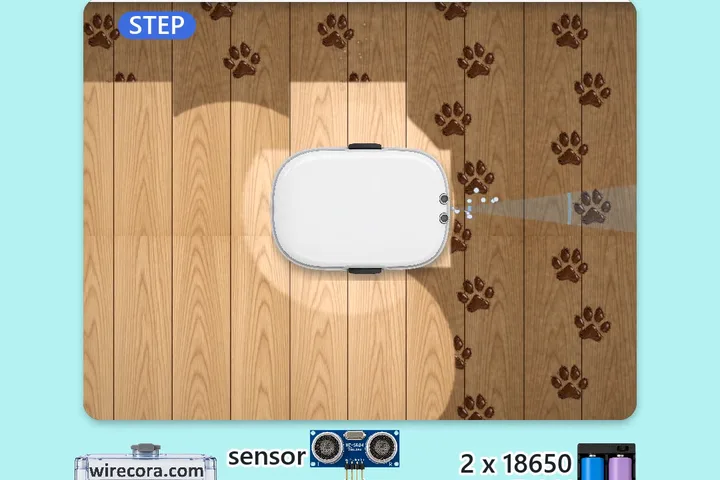 Same Arduino + motorFloor mopping robot: Arduino Nano, HC-SR04 and L298NThe robot drives over a hard floor, mists a little water and wipes it with a cloth pad.
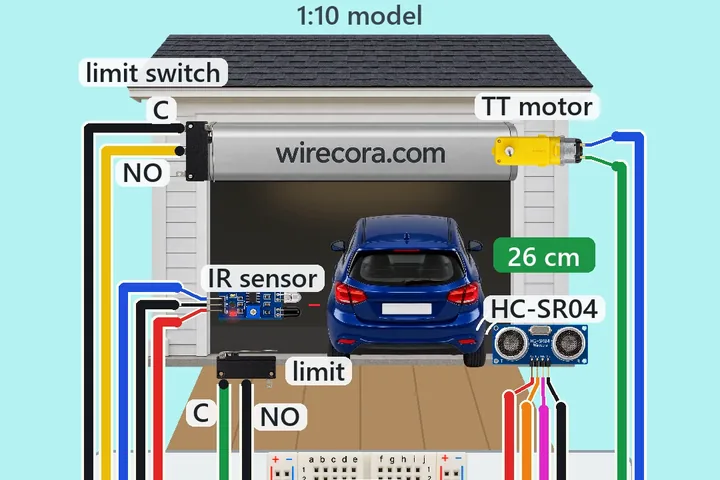 Next step: adds an IR sensorModel garage door that opens for a car, with an Arduino Nano, an HC-SR04 and an L298NA car rolls up the driveway.
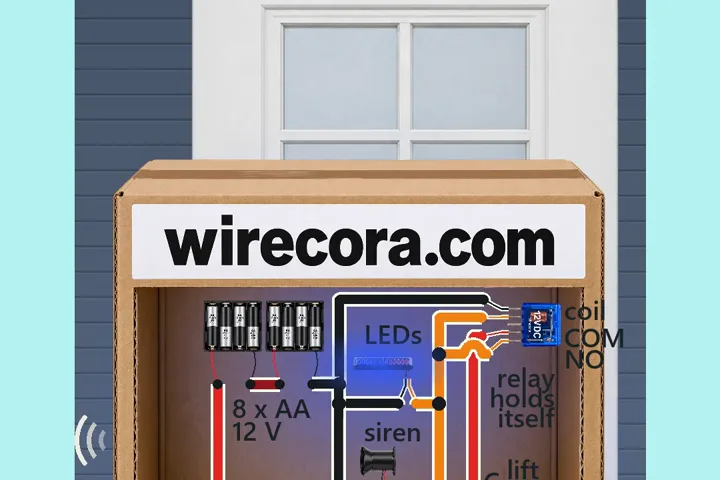 Something new: a relayParcel alarm that keeps goingLift the parcel and a siren sounds with red and blue strobe flashes.