Speaker that lights two LEDs
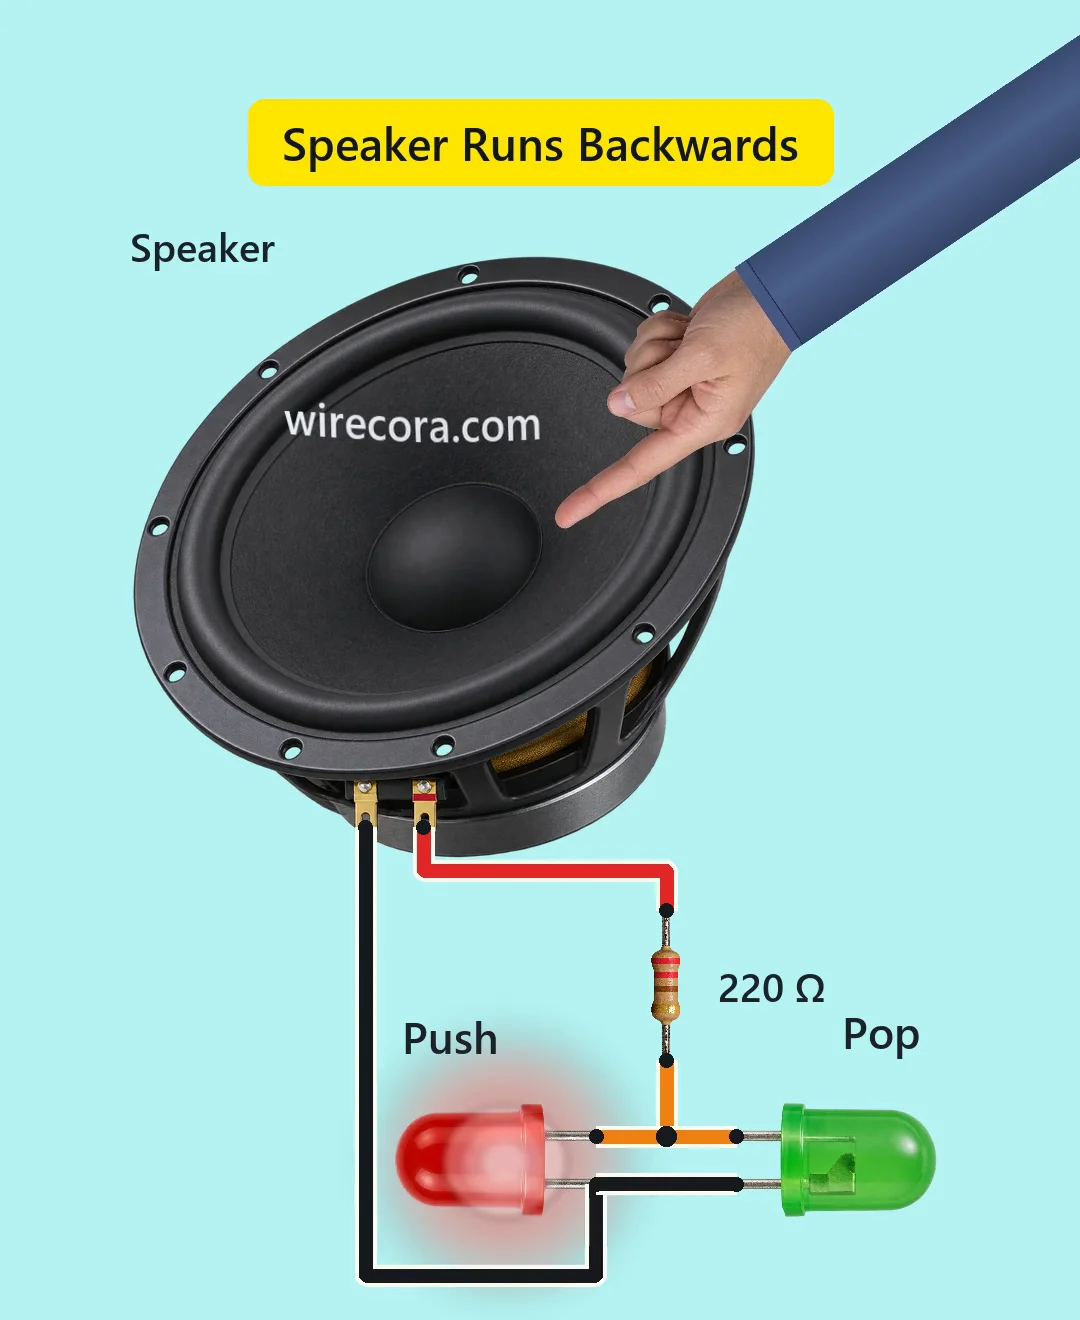
A speaker works backwards: move its cone and the coil makes a voltage. Push the cone in and a red LED flashes; let go and the cone springs back and a green LED flashes. There is no battery, and it is not free energy: the finger does all the work.
- 4 parts
- 4 wiring steps
- No code needed
Quick answer
The short version. Every pin is in the full wiring below.What you need
- 6.5 inch woofer
- 220 ohm resistor
- Red LED
- Green LED
How to wire it
- Woofer + terminal to one end of the 220 ohm resistor.
- The other end of the 220 ohm resistor to the red LED cathode and the green LED anode (junction X).
- Woofer - terminal to the red LED anode and the green LED cathode (junction Y).
- So the two LEDs sit side by side in opposite directions: each LED's long lead goes to the other's short lead.
Before you power it: No battery, and only a few volts. Use a spare speaker, disconnected from any amplifier, tap quickly with light force, two fingertips evenly either side of the dust cap (not on it), and stop at about 5 mm: past the travel the cone tears and the coil rubs. A very hard tap or a cheap woofer can go over the LED's rated current for a few ms.
Parts list
- 6.5 inch woofer, with a + terminal and a - terminal
- 220 ohm resistor, between the woofer + terminal and the LEDs
- Red LED, 5 mm, in the opposite direction to the green one
- Green LED, 5 mm, in the opposite direction to the red one
Wiring, step by step
- Woofer + terminal to one end of the 220 ohm resistor.
- The other end of the 220 ohm resistor to the red LED cathode and the green LED anode (junction X).
- Woofer - terminal to the red LED anode and the green LED cathode (junction Y).
- So the two LEDs sit side by side in opposite directions: each LED's long lead goes to the other's short lead.
How it works
- The coil on the cone moves through the magnet gap, and a wire moving through a magnetic field makes a voltage.
- Pushing the cone in makes the speaker's - terminal positive, so current goes out through the red LED.
- Letting go makes the cone spring back and the voltage reverses, so the green LED takes its turn. A real cone bounces once, so a faint red can follow the green.
- Hold the cone still and nothing lights, because only movement makes voltage. A slow press and a slow release give nothing; letting go quickly still flashes green.
- The 220 ohm resistor holds the pop-back to about the green LED's 25 mA rating.
What the video simplifies
- The numbers are estimates from arithmetic and an assumed motor strength of about 10 T m, not built or measured. The drawn tap is about 0.45 m/s, 4.5 V and red about 12 mA.
- In real life it is a faint blink of 10 to 20 ms, best seen in a dim room. The video is about 16 times slower and the glow is drawn far brighter.
- An assumed cheaper woofer gives 2 to 2.7 V and only 1 to 4 mA in red, barely visible; a 3 inch one probably gives nothing. A woofer of 10 inch or more makes more voltage, so use a bigger resistor.
- The coil and magnet are not shown. The cone dip is drawn larger than the real 5 mm and warped from a still picture, the LEDs are drawn large, and one off-centre finger stands in for two.
- This circuit was checked by arithmetic and a circuit simulation, not built.
You found this by searching. Here's the whole path.
- Read how it works
- See it work
- Build it
- Show it
Thirty seconds of video shows the circuit doing its job.
No battery, and only a few volts. Use a spare speaker, disconnected from any amplifier, tap quickly with light force, two fingertips evenly either side of the dust cap (not on it), and stop at about 5 mm: past the travel the cone tears and the coil rubs. A very hard tap or a cheap woofer can go over the LED's rated current for a few ms.
Built it, or stuck halfway? Post a photo in the Wirecora Discord. Questions get an answer every day.
What to build next
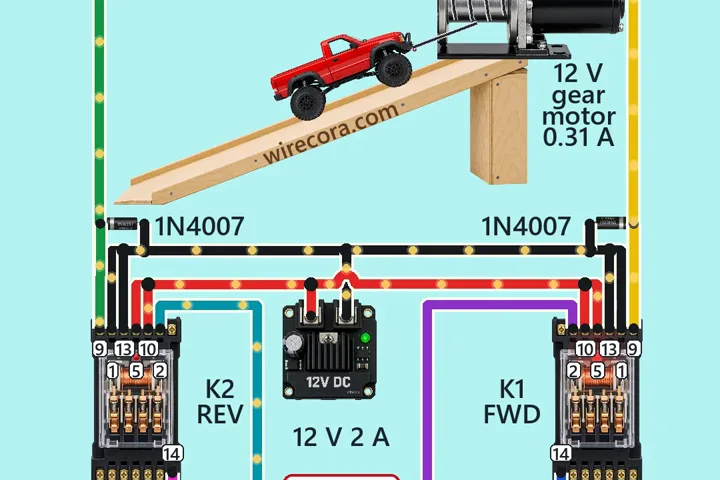 Similar partsWinch with an interlockHold FORWARD and the winch pulls the car up the ramp.
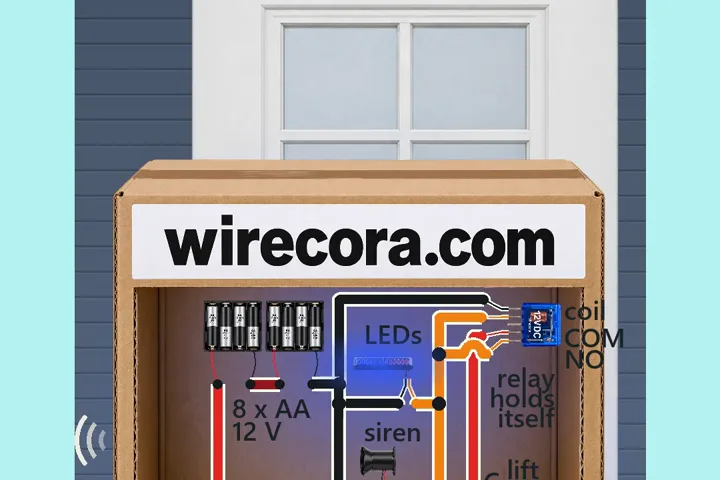 Something new: a relayParcel alarm that keeps goingLift the parcel and a siren sounds with red and blue strobe flashes.
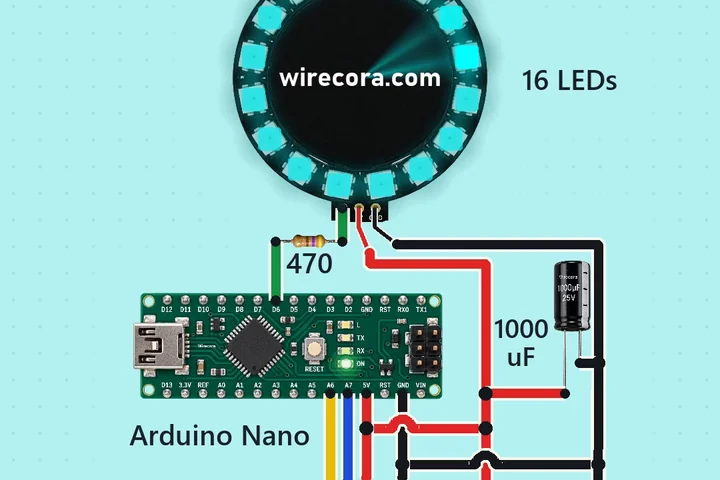 Similar partsJoystick LED ring colour sweepTurn the joystick in a circle and the whole ring runs through the colour wheel.