Staircase light: two switches, one lamp
Flip either of two switches and the lamp changes: on becomes off, off becomes on. In the Short two hands flip the levers of a switch at the bottom of a staircase and a switch at the top in turn, and each flip changes the lamp. This is the two-way (staircase) circuit, built here at 12 V.
- 5 parts
- 5 wiring steps
- No code needed
- 12 V supply
Quick answer
The short version. Every pin is in the full wiring below.What you need
- 12 V 7 Ah battery
- 12 V 5 W lamp in its holder
- SPDT toggle switch, MTS-102 type, two of them
- Hookup wire
- A 1 A fuse in the battery plus wire
How to wire it
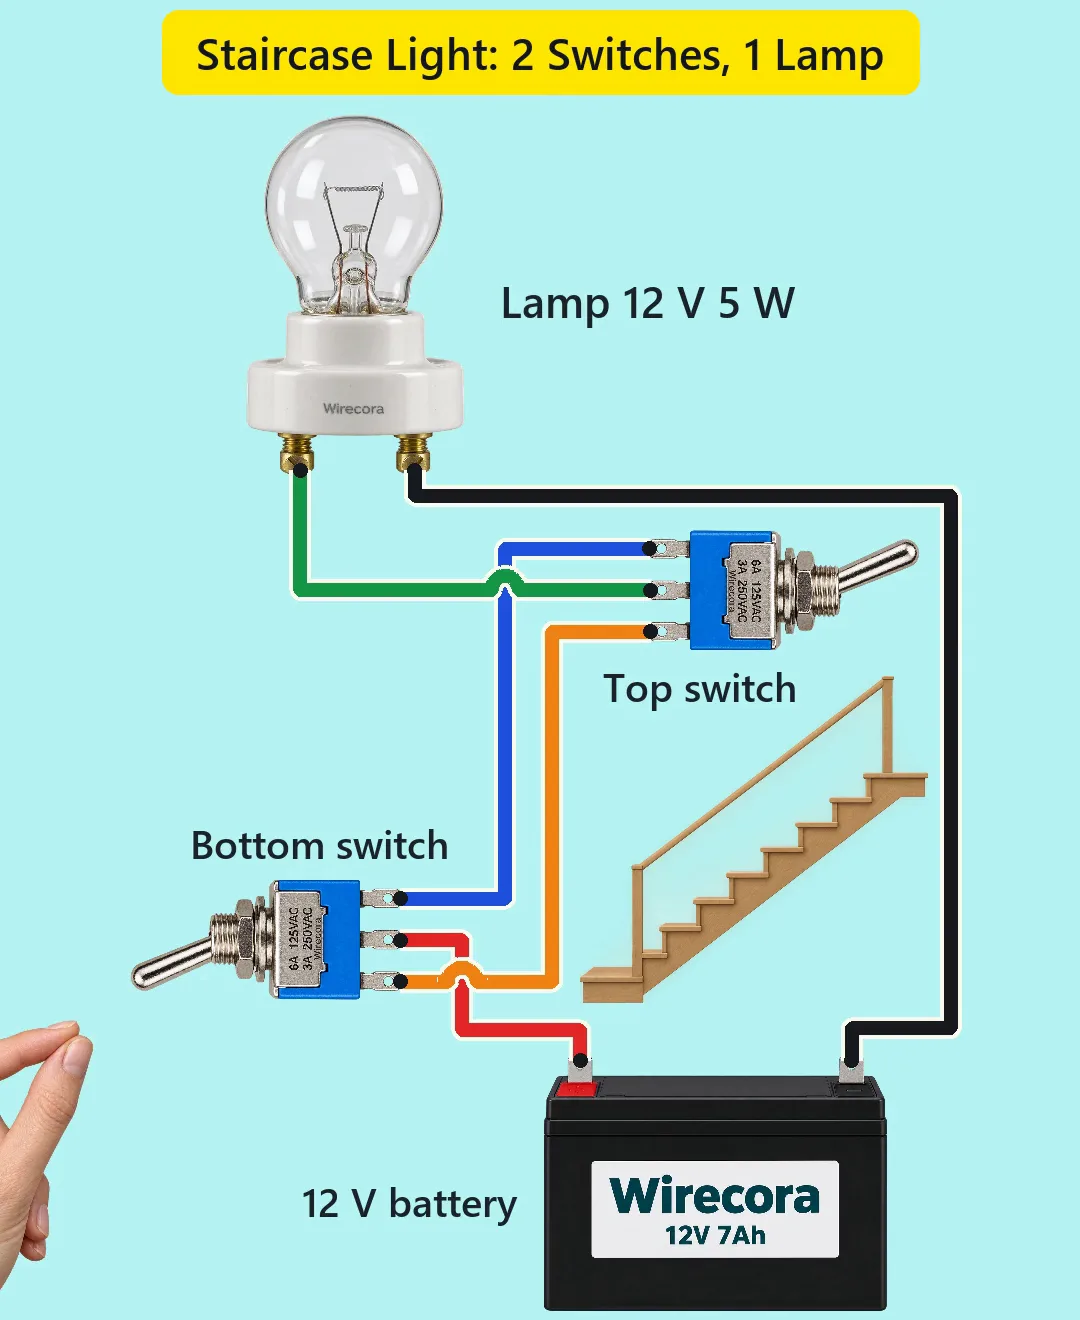
- Battery plus (red wire) to COM, the centre lug, of the bottom switch.
- Bottom switch lug B to top switch lug A with the blue wire.
- Bottom switch lug A to top switch lug B with the orange wire.
- Top switch COM (the centre lug) to one terminal of the lamp with the green wire.
- The lamp's other terminal to battery minus with the black wire.
Before you power it: The Short runs on 12 V from a battery. Mains house wiring uses the same idea at a voltage that can kill, and it is a job for a qualified electrician: never copy this at mains voltage. On a 12 V build put a 1 A fuse in the battery plus wire.
Parts list
- 12 V 7 Ah battery
- 12 V 5 W lamp in its holder (it draws about 0.42 A)
- SPDT toggle switch, MTS-102 type, two of them (three lugs each: A, COM, B)
- Hookup wire, five lengths: red, blue, orange, green and black
- A 1 A fuse in the battery plus wire (good practice; not drawn in the Short)
Wiring, step by step
- Battery plus (red wire) to COM, the centre lug, of the bottom switch. The bottom switch is the first one in the line.
- Bottom switch lug B to top switch lug A with the blue wire. This is the first of the two travellers.
- Bottom switch lug A to top switch lug B with the orange wire. This is the second traveller; the two travellers never touch each other.
- Top switch COM (the centre lug) to one terminal of the lamp with the green wire.
- The lamp's other terminal to battery minus with the black wire. The lamp has no plus or minus side.
How it works
- Each switch has a centre lug (COM) and two outer lugs. Its lever joins COM to one outer lug or the other, never both.
- The two outer lugs of the bottom switch are joined to the two outer lugs of the top switch by the blue and orange wires. The bottom switch puts the battery plus on one of those two wires, and the top switch picks one of them up to feed the lamp.
- If both levers choose the same wire (both down or both up), the plus travels along that wire to the lamp and back to minus, and the lamp lights.
- If the levers choose different wires, the top switch picks up the wire with no plus on it, so the lamp's circuit is open and the lamp is off.
- That is why flipping either lever, from any position, changes the lamp. The lamp is lit exactly when both levers point the same way.
What the video simplifies
- No fuse is drawn. A 12 V 7 Ah lead-acid battery can give a very large current into a short, so a real build needs about a 1 A fuse in the plus wire.
- The switch ratings (6 A at 125 V AC, 3 A at 250 V AC) are AC ratings. The lamp draws about 0.42 A at 12 V, with a surge of about 4 A for a few milliseconds when a cold filament starts, which is well inside them.
- The switches, lamp and battery are drawn much larger than the stairs, and the stairs are only a prop. The light rays and the glint on the battery are drawn effects.
- The lamp warms up and cools down faster than a real filament, and the hands are for show. The levers flip 1.5 seconds apart in a 6 second loop.
- The Short is 12 V. House stairs are wired at mains voltage, which this page does not cover.
- This circuit was checked by simulation and against the datasheets, not built.
You found this by searching. Here's the whole path.
- Read how it works
- See it work
- Try it on the board
- Build it
- Show it
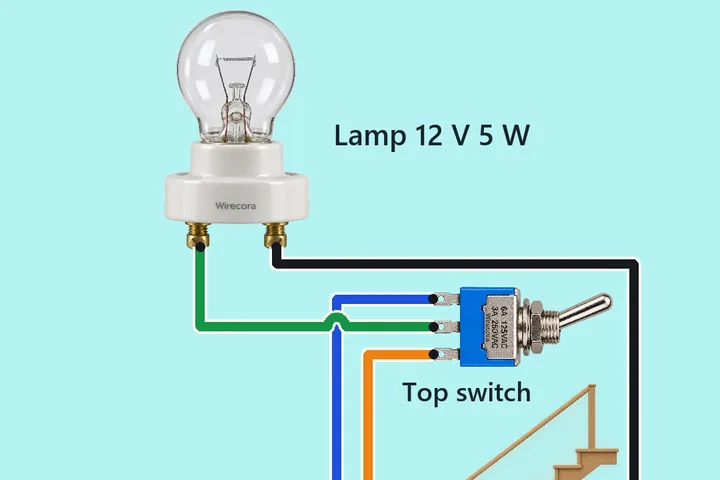
Thirty seconds of video shows the circuit doing its job. Then this whole circuit is on the wiring board. Wire it there first and watch it work before you touch a real part.
The Short runs on 12 V from a battery. Mains house wiring uses the same idea at a voltage that can kill, and it is a job for a qualified electrician: never copy this at mains voltage. On a 12 V build put a 1 A fuse in the battery plus wire.
Built it, or stuck halfway? Post a photo in the Wirecora Discord. Questions get an answer every day.
What to build next
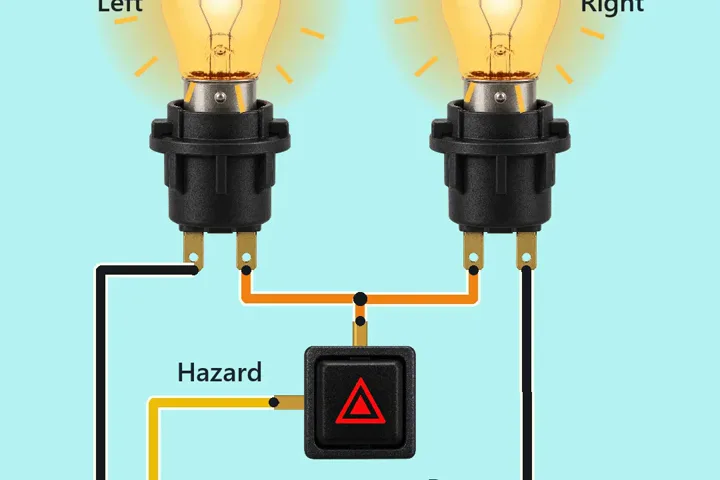 Same lampCar hazard lights with a thermal flasherTwo amber car bulbs blink on their own with the familiar click-clack.
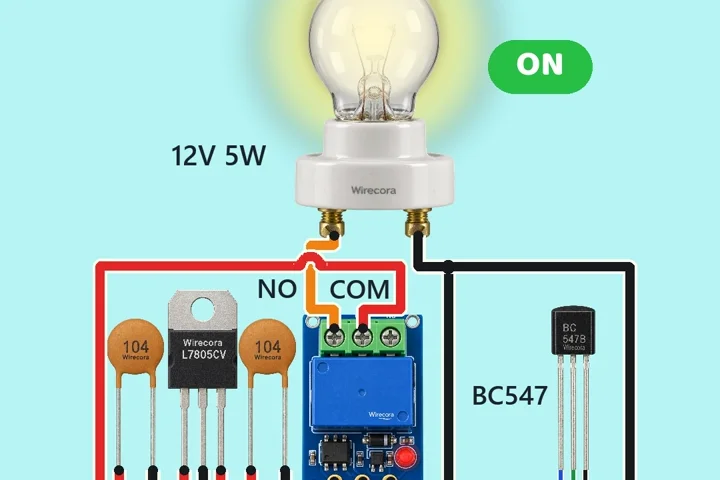 Next step: adds a relayTouch switch lampA finger taps a red TTP223 touch pad.
 Something new: a 555 timerGlass that fills itself and stops near the topPress START once and a small pump fills the glass.