Robotic arm with an Arduino Nano, two SG90 servos and two slide pots
Slide one knob and the shoulder servo turns, slide the other and the elbow servo turns. The two-joint arm follows your hand until its gripper taps a desk bell.
- 6 parts
- 5 wiring steps
- Arduino code
- 5 V supply
Quick answer
The short version. Every pin is in the full wiring below.What you need
- Arduino Nano
- 2 SG90 servos
- 2 slide potentiometer modules, 10 k linear
- Regulated 5 V 2 A supply, into the Nano 5V pin
- 470 uF capacitor across the servo 5 V and ground
- An arm made of the two servos
How to wire it
- Supply plus to the Nano 5V pin, to both servos' red wires and to the 5 V end of each slide pot.
- Lower slide pot: middle pin (wiper) to A0.
- Upper slide pot: middle pin (wiper) to A1.
- Shoulder servo's orange (signal) wire to D9.
- As drawn, each slide pot's header runs ground, wiper, 5 V from left to right, so sliding the knob right gives a higher voltage.
Before you power it: Everything here runs on 5 V DC. Keep fingers clear of the moving arm, and do not plug in USB at the same time as the supply.
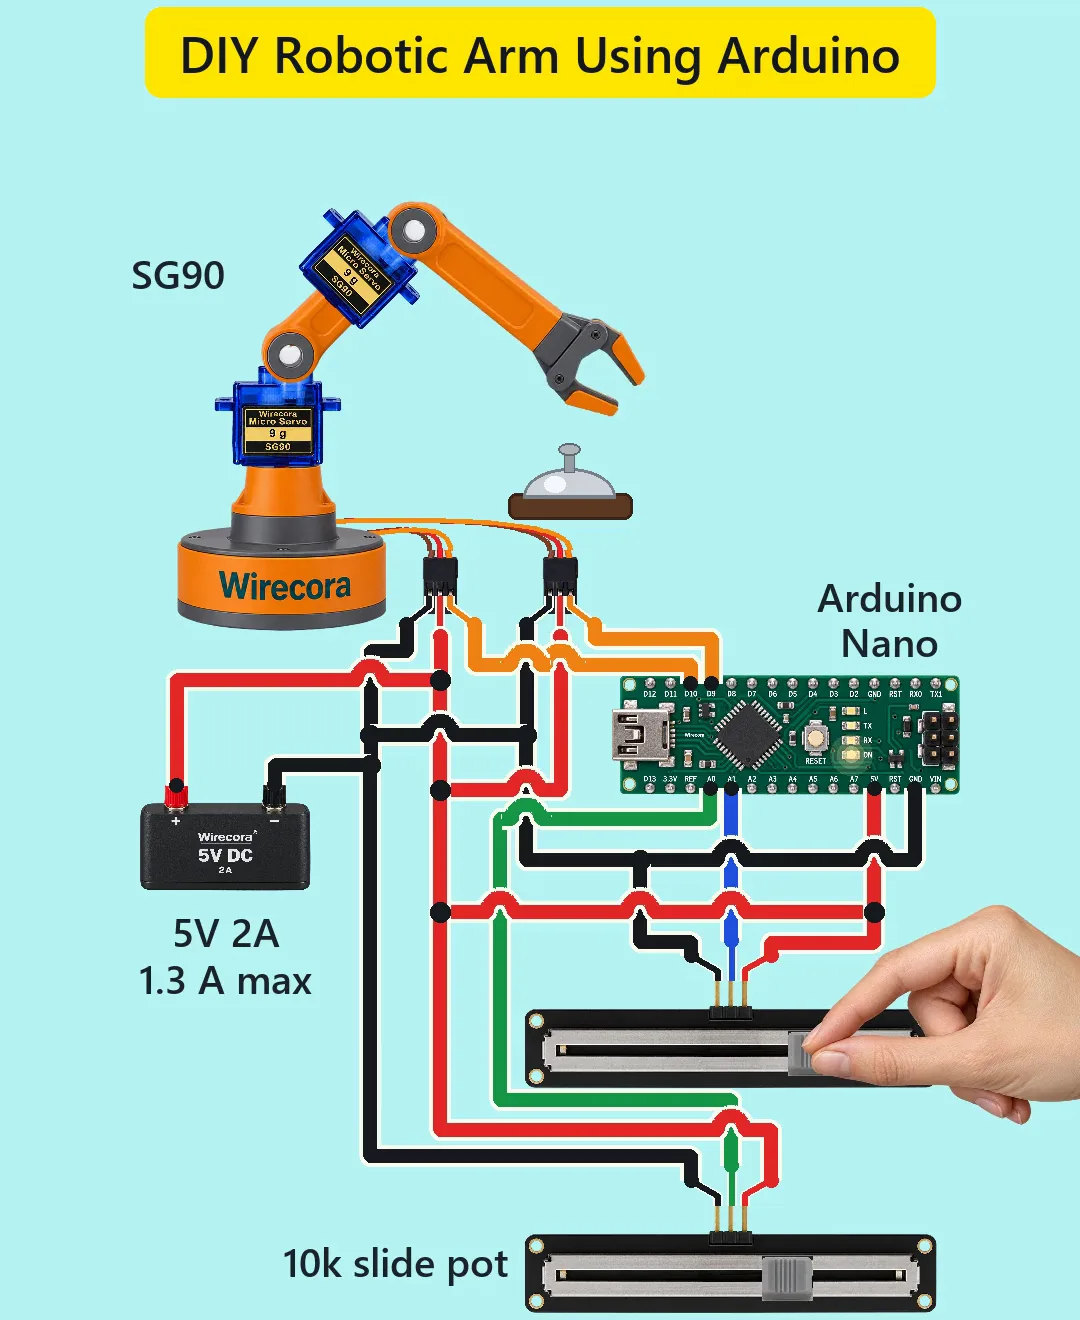
Parts list
- Arduino Nano
- 2 SG90 servos (orange = signal, red = 5 V, brown = ground)
- 2 slide potentiometer modules, 10 k linear
- Regulated 5 V 2 A supply, into the Nano 5V pin (leave VIN unused and do not plug in USB at the same time)
- 470 uF capacitor across the servo 5 V and ground (recommended; not drawn in the Short)
- An arm made of the two servos, thin light plastic segments and a fixed gripper (no gripper servo), and a desk bell
Wiring, step by step
- Supply plus to the Nano 5V pin, to both servos' red wires and to the 5 V end of each slide pot. Supply minus to the Nano GND, to both servos' brown wires and to the ground end of each slide pot.
- Lower slide pot: middle pin (wiper) to A0. It drives the shoulder servo.
- Upper slide pot: middle pin (wiper) to A1. It drives the elbow servo.
- Shoulder servo's orange (signal) wire to D9. Elbow servo's orange wire to D10.
- As drawn, each slide pot's header runs ground, wiper, 5 V from left to right, so sliding the knob right gives a higher voltage. A real module prints its own pin names: check yours.
How it works
- Each slide pot is a voltage divider: its ends are on 5 V and ground, and the wiper gives 0 to 5 V depending on where the knob is.
- The Nano reads each wiper on an analog pin and turns the reading into a servo angle. Only the upper part of each slider's travel is used, so the arm stays in the range that reaches the bell: the shoulder moves between 45 and 70 degrees and the elbow between 80 and 110 degrees.
- A servo holds the last angle it was given, so the arm moves only while a knob moves.
- The gripper reaches the bell when the elbow gets to 80 degrees.
- Two stalled SG90 servos draw up to about 1.3 A (an estimated upper bound; third-party measurements are nearer 0.36 to 0.55 A each), well inside the 2 A supply.
The code: robotic_arm.ino
The Arduino code for this circuit is in the Wirecora Discord, in the channel #arduino-code (owner’s choice, 14 October 2026: the code lives where you can ask about it). It is a plain .ino file you can download there.
The sketch from the Short's description, which the animation follows; it has not been run on a real board yet. It uses the Servo library that comes with the Arduino IDE.
What the video simplifies
- The electronics and the arm are drawn at different scales, and the servos are shown in front view.
- The elbow servo's lead is hidden behind the arm. On a real arm it is tied along the arm.
- The gripper is fixed. The arm is assumed thin and light; pushing a real desk bell with an SG90 is borderline.
- The ring arcs and the ding are stylised.
- One hand moves both sliders in the Short. The viral original's "5V battery" is replaced here by a regulated 5 V 2 A supply.
- Checked by simulation and datasheets only, not built.
You found this by searching. Here's the whole path.
- Read how it works
- See it work
- Build it
- Show it
Thirty seconds of video shows the circuit doing its job.
Everything here runs on 5 V DC. Keep fingers clear of the moving arm, and do not plug in USB at the same time as the supply.
Built it, or stuck halfway? Post a photo in the Wirecora Discord. Questions get an answer every day.
What to build next
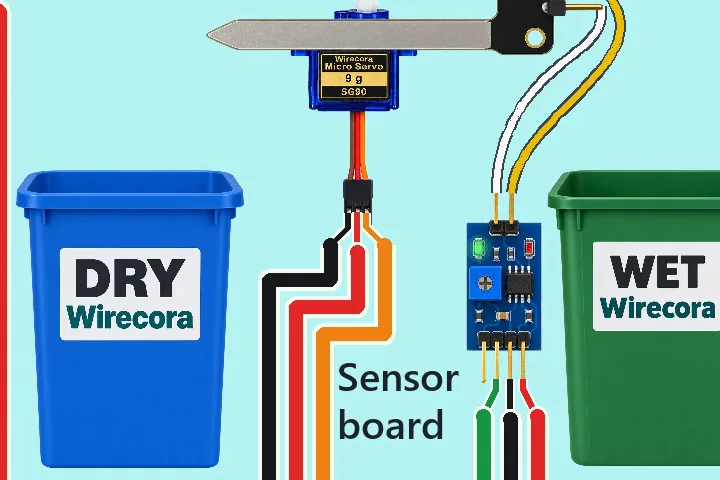 Same Arduino + servoAutomatic wet and dry waste sorter with an Arduino NanoA dry plastic bottle tips into the DRY bin, a damp banana peel into the WET bin.
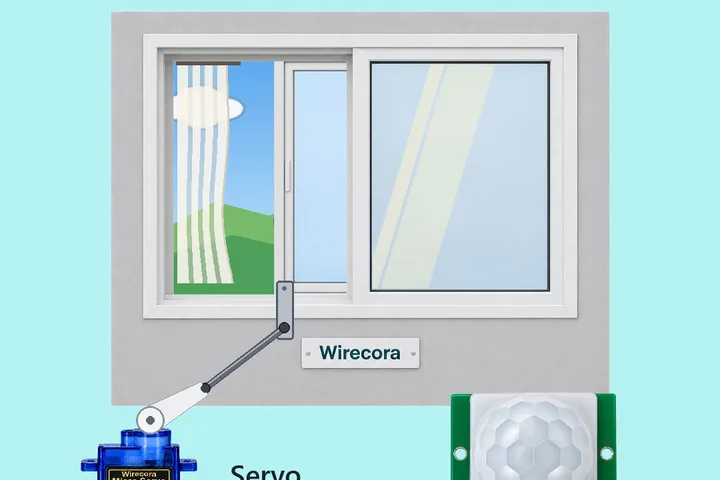 Next step: adds a PIR sensorMotion sensing window: Arduino Nano, PIR sensor and an SG90Wave a hand past the PIR sensor and the model window slides open.
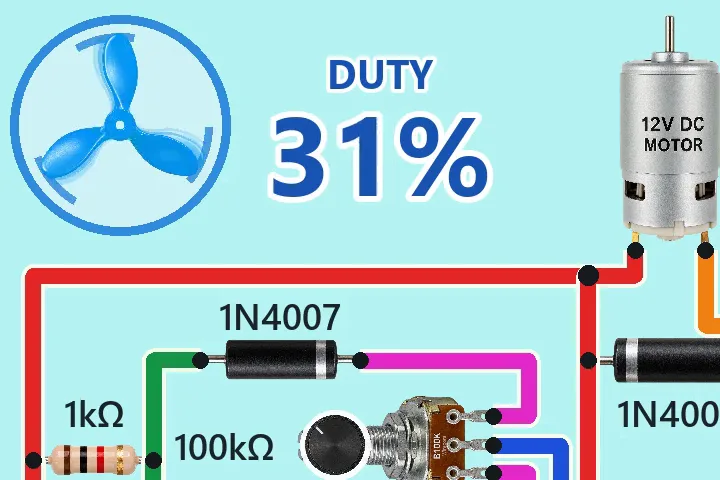 Something new: a 555 timer555 PWM speed controller for a 12 V DC motor with a TIP122A 555 timer makes the PWM that sets the speed of a small 12 V DC motor.