Water-touch motor switch
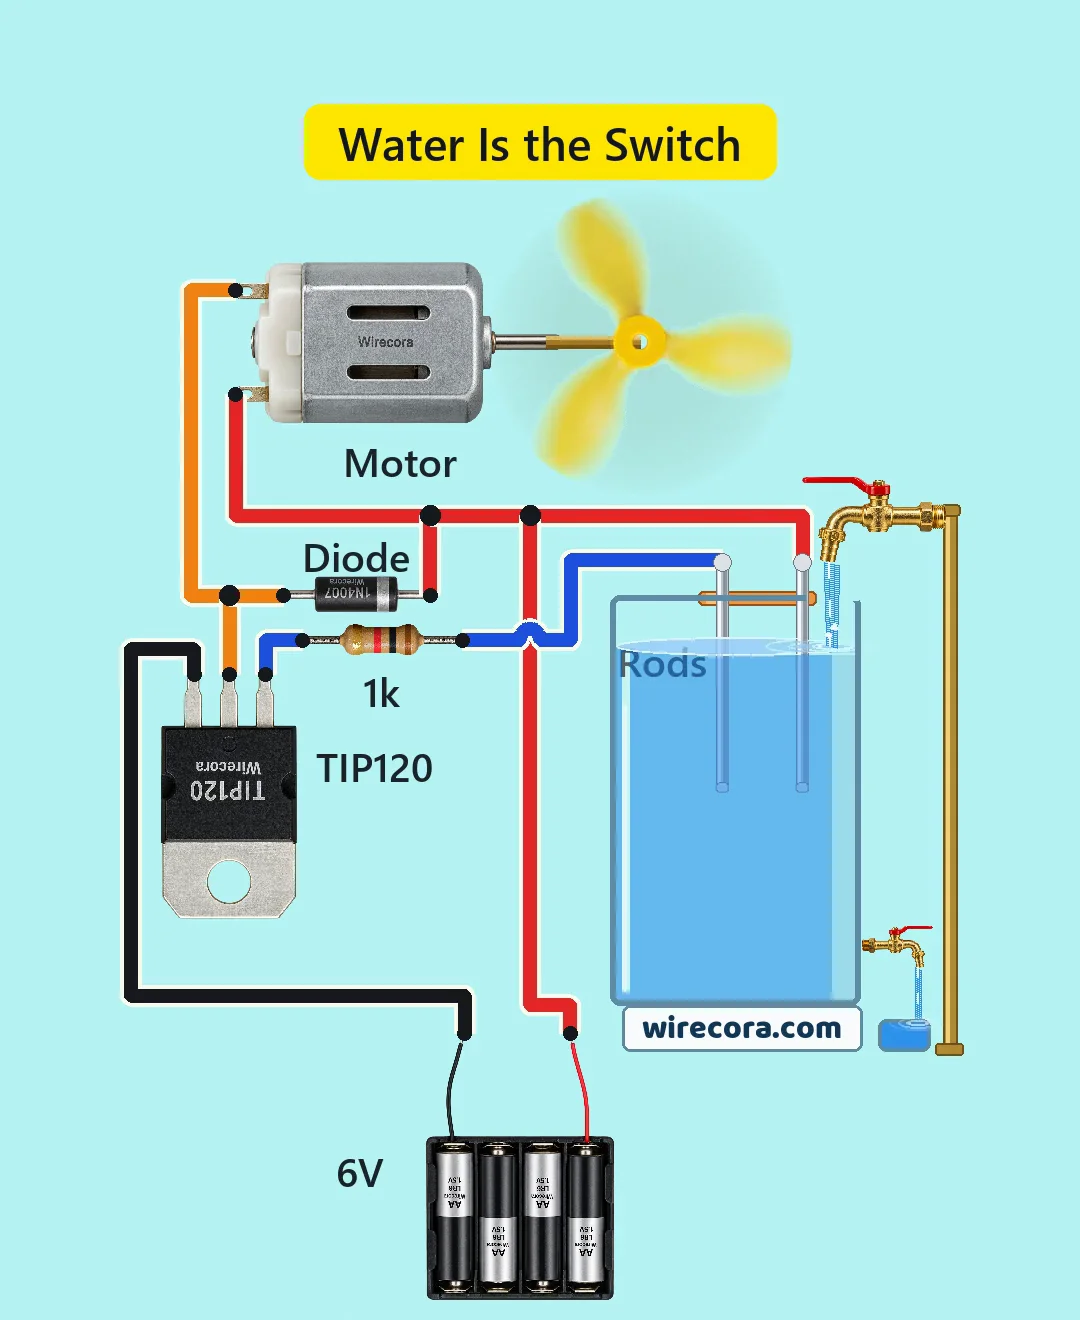
Two steel rods stand in a tank. When the water reaches them, a small motor with a yellow propeller starts. When the water drops away from the rods, the motor slows and stops. There is no switch in this circuit; the water itself connects the two rods.
- 7 parts
- 4 wiring steps
- No code needed
- 6 V supply
Quick answer
The short version. Every pin is in the full wiring below.What you need
- 4 x AA battery holder with four fresh AA cells
- TIP120 Darlington transistor, TO-220
- 1k resistor
- 1N4007 diode across the motor
- 130 DC motor of the 6 V kind
- Stainless steel rod
- A clear tank, and water
How to wire it
- Battery holder plus (red) to rod A, to motor terminal B and to the 1N4007 cathode (the band).
- Rod B to one end of the 1k resistor, and the other end of the 1k resistor to the TIP120 base (pin 1).
- Motor terminal A to the 1N4007 anode and to the TIP120 collector (pin 2).
- Battery holder minus (black) to the TIP120 emitter (pin 3).
Before you power it: Batteries only (6 V), never a mains adapter. The rods carry current whenever they are wet, so take them out when you are finished, and do not use this water for drinking, pets or fish. A real propeller's blade tips move at about 100 km/h: use a soft propeller, keep fingers and eyes out of its plane, and fix the motor down.
Parts list
- 4 x AA battery holder with four fresh AA cells, 6 V
- TIP120 Darlington transistor, TO-220 (pin 1 base, pin 2 collector, pin 3 emitter)
- 1k resistor, from the second rod to the TIP120 base
- 1N4007 diode across the motor (the band is the cathode)
- 130 DC motor of the 6 V kind (about 0.5 A at stall), with a soft or flexible propeller about 10 cm across and a brass extension shaft
- Stainless steel rod, two of them, in a plastic holder
- A clear tank, and water
Wiring, step by step
- Battery holder plus (red) to rod A, to motor terminal B and to the 1N4007 cathode (the band).
- Rod B to one end of the 1k resistor, and the other end of the 1k resistor to the TIP120 base (pin 1).
- Motor terminal A to the 1N4007 anode and to the TIP120 collector (pin 2).
- Battery holder minus (black) to the TIP120 emitter (pin 3).
How it works
- With the rods dry there is no path to the base, so no current flows and the motor is off.
- Water between the two rods lets a tiny current flow from the batteries through the water and the 1k resistor into the TIP120 base.
- The TIP120 multiplies that base current about 1000 times, so the motor circuit carries far more current and the motor runs.
- When the water drops away from the rods the base current stops and so does the motor. The 1N4007 across the motor catches the voltage kick when it switches off and protects the transistor.
What the video simplifies
- In the clip the motor starts about 5 mm after the water reaches the rod tips and stops about 2 mm before it leaves them, because shallow rods pass too little current. The rings at the rod tips are a visual aid.
- The propeller is drawn face on so you can see it (really it turns across the shaft) and much slower than real, about 2.5 turns a second against about 80. The spin-up is faster than real and the coast time is chosen.
- Filling and draining are sped up, and the parts are not to scale.
- The motor's running current (about 0.2 A) is assumed, not measured. A 3 V toy motor can pull over 1 A here, and the TIP120 would then need a heat sink.
- No fuse is drawn.
- Keep the rods about 2 cm under water in a real build. Soft water and weak batteries need the depth; rain water may not start it and distilled water will not.
- This circuit was checked by simulation (ngspice) and datasheets, not built. The simulation gives about 4.6 mA of base current with the two rods shorted together, and about 1.8 mA with 1.5 k ohm of water between the rods.
You found this by searching. Here's the whole path.
- Read how it works
- See it work
- Build it
- Show it
Thirty seconds of video shows the circuit doing its job.
Batteries only (6 V), never a mains adapter. The rods carry current whenever they are wet, so take them out when you are finished, and do not use this water for drinking, pets or fish. A real propeller's blade tips move at about 100 km/h: use a soft propeller, keep fingers and eyes out of its plane, and fix the motor down.
Built it, or stuck halfway? Post a photo in the Wirecora Discord. Questions get an answer every day.
What to build next
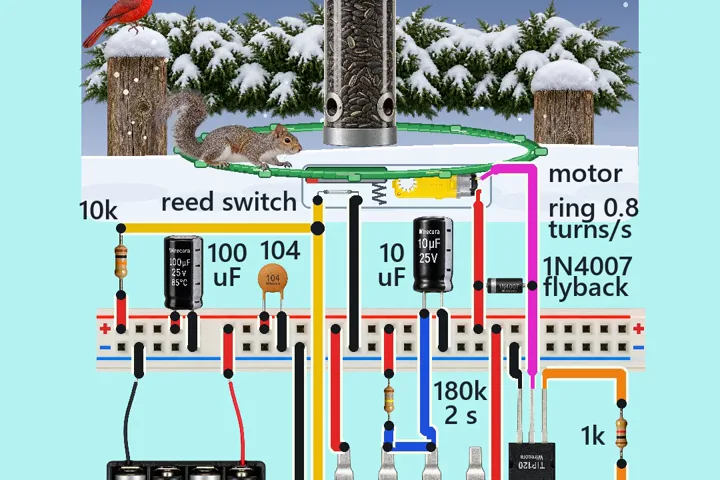 Same motor + TIP120Spinning bird feeder perch that turns when a squirrel climbs onA squirrel hops onto the feeder's perch ring and the ring starts to turn.
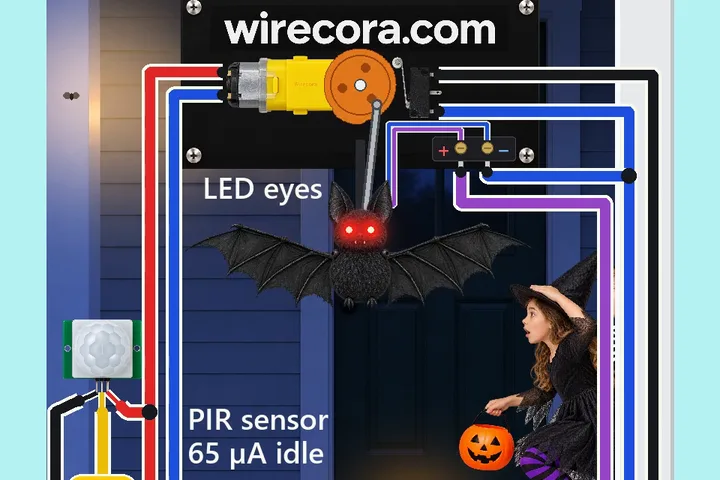 Next step: adds a PIR sensorFlapping porch bat with a motion sensor, a TIP120 and a TT gear motorTrick-or-treaters walk up to the door, a motion sensor sees them, and the big bat under the porch roof lights its red eyes and beats its wings, about two a second.
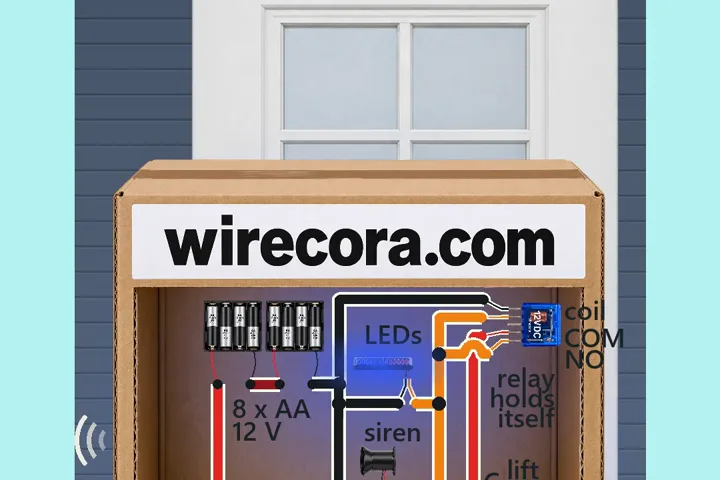 Something new: a relayParcel alarm that keeps goingLift the parcel and a siren sounds with red and blue strobe flashes.